Modernize Buildings Intercoms
Turn any building entrance into a smart, phone-controlled access point. Install the hardware, link it to Tinklee, and hand residents a keyless door.
- Upgrade your existing building's intercom to modern standards
- Extend it with camera support and mobile phone terminals
- A user-friendly, self-editable residents directory
- Residents open the front door with their phone or watch
- Excellent for rental businesses
- Get new features and updates automatically
One building per account. Need more? Contact us.
No invoices yet.
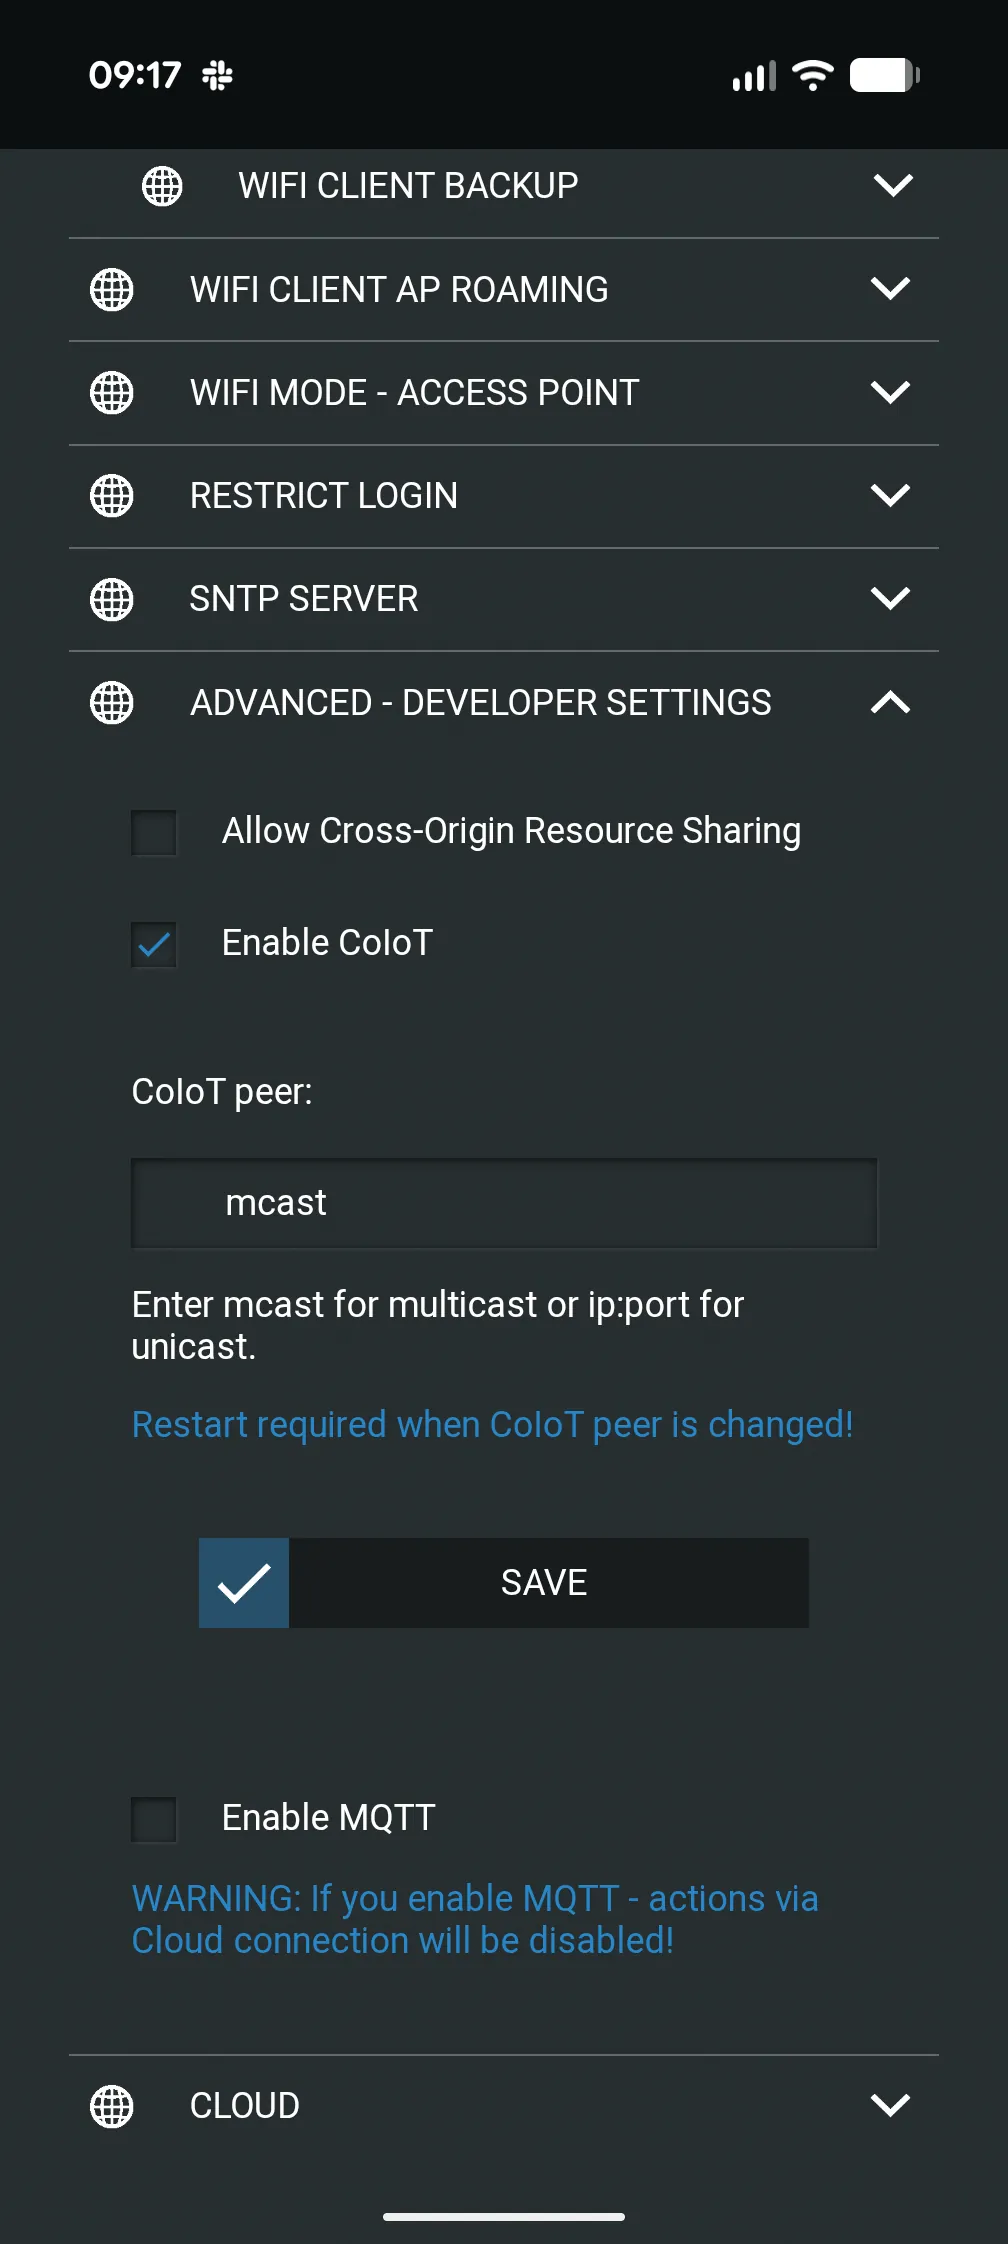
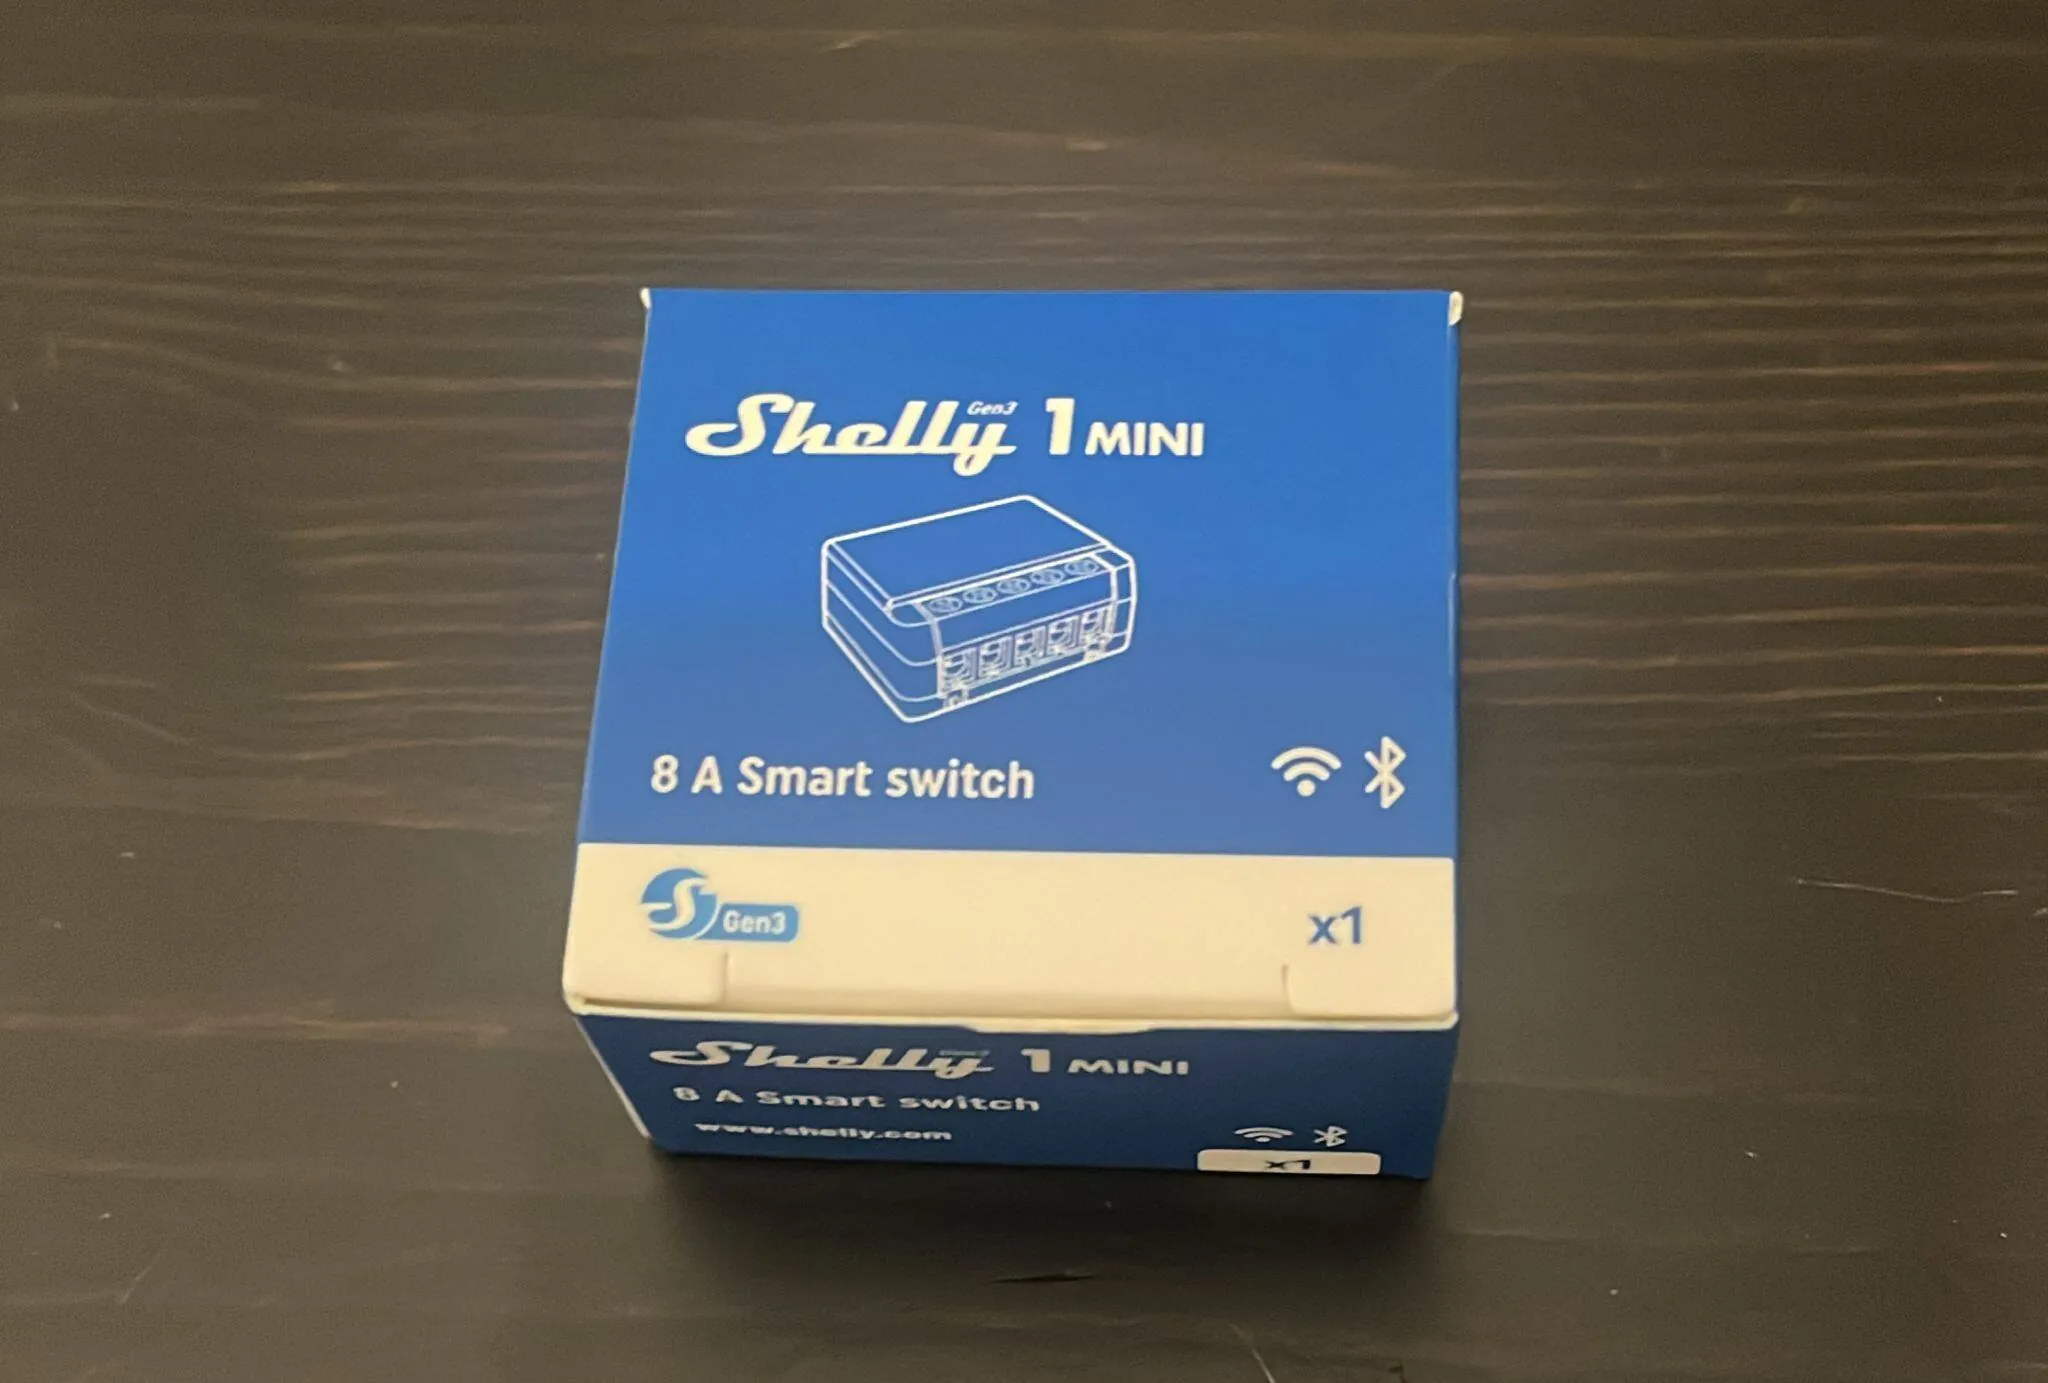
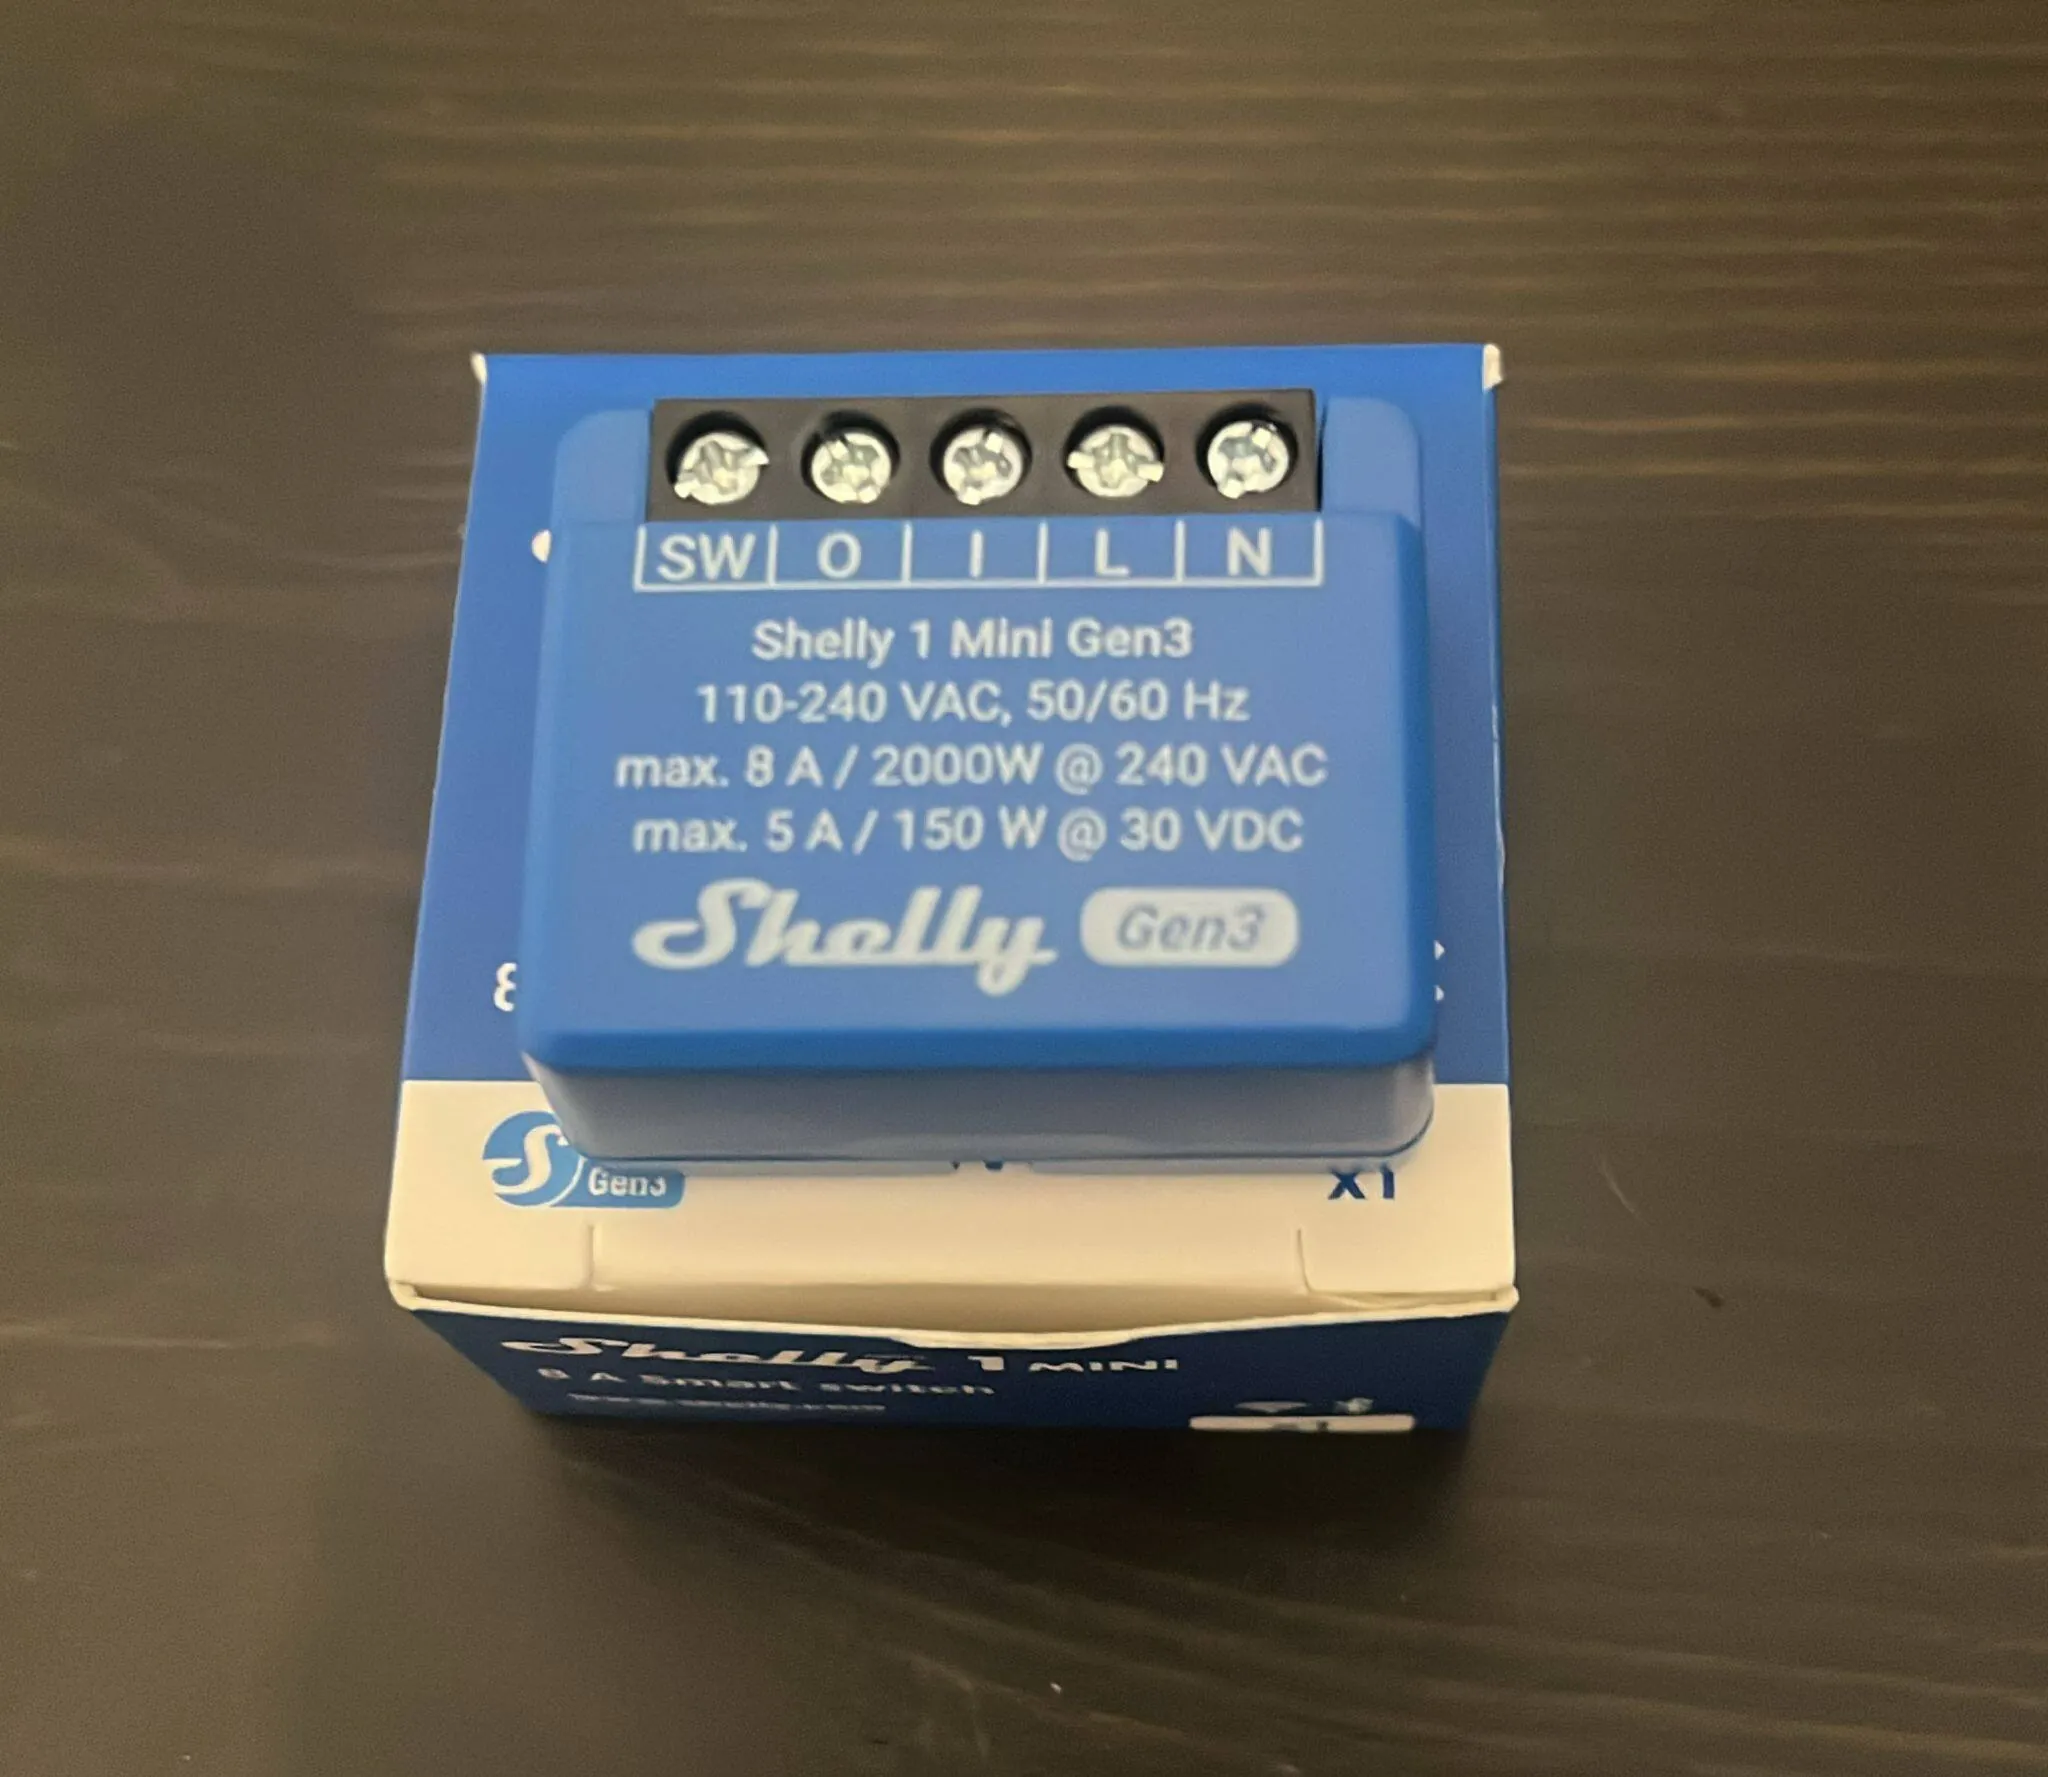
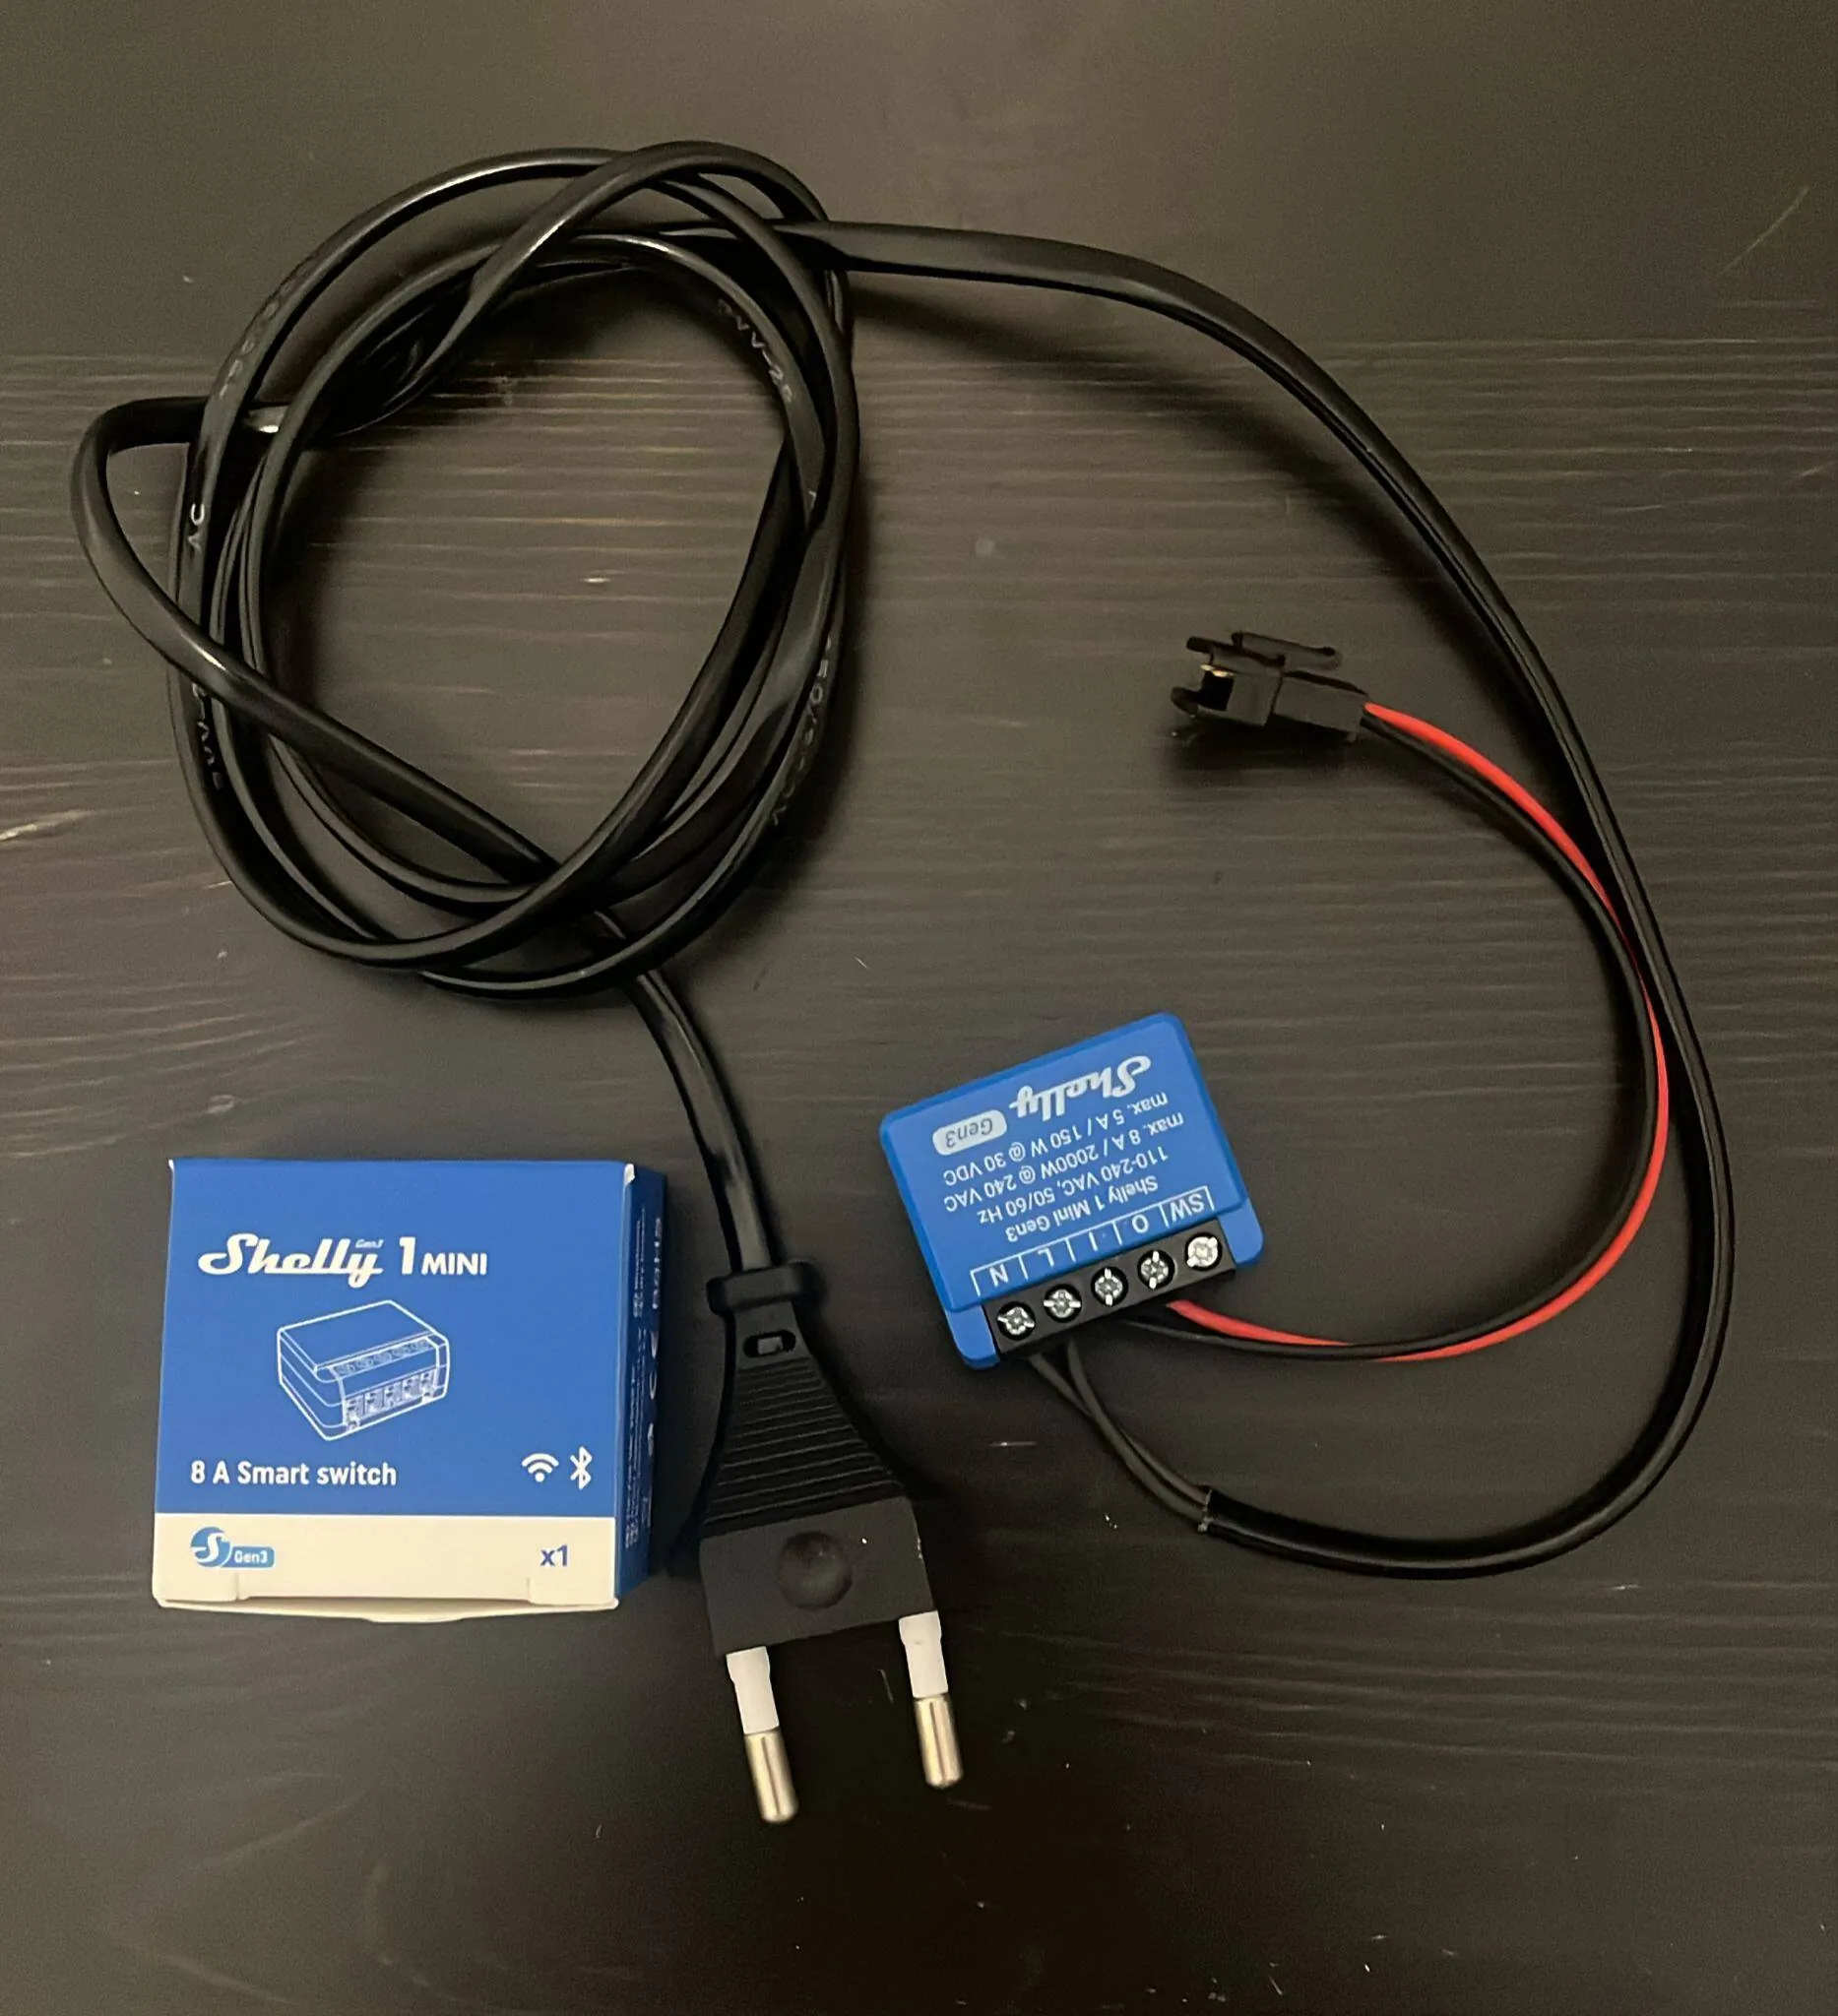
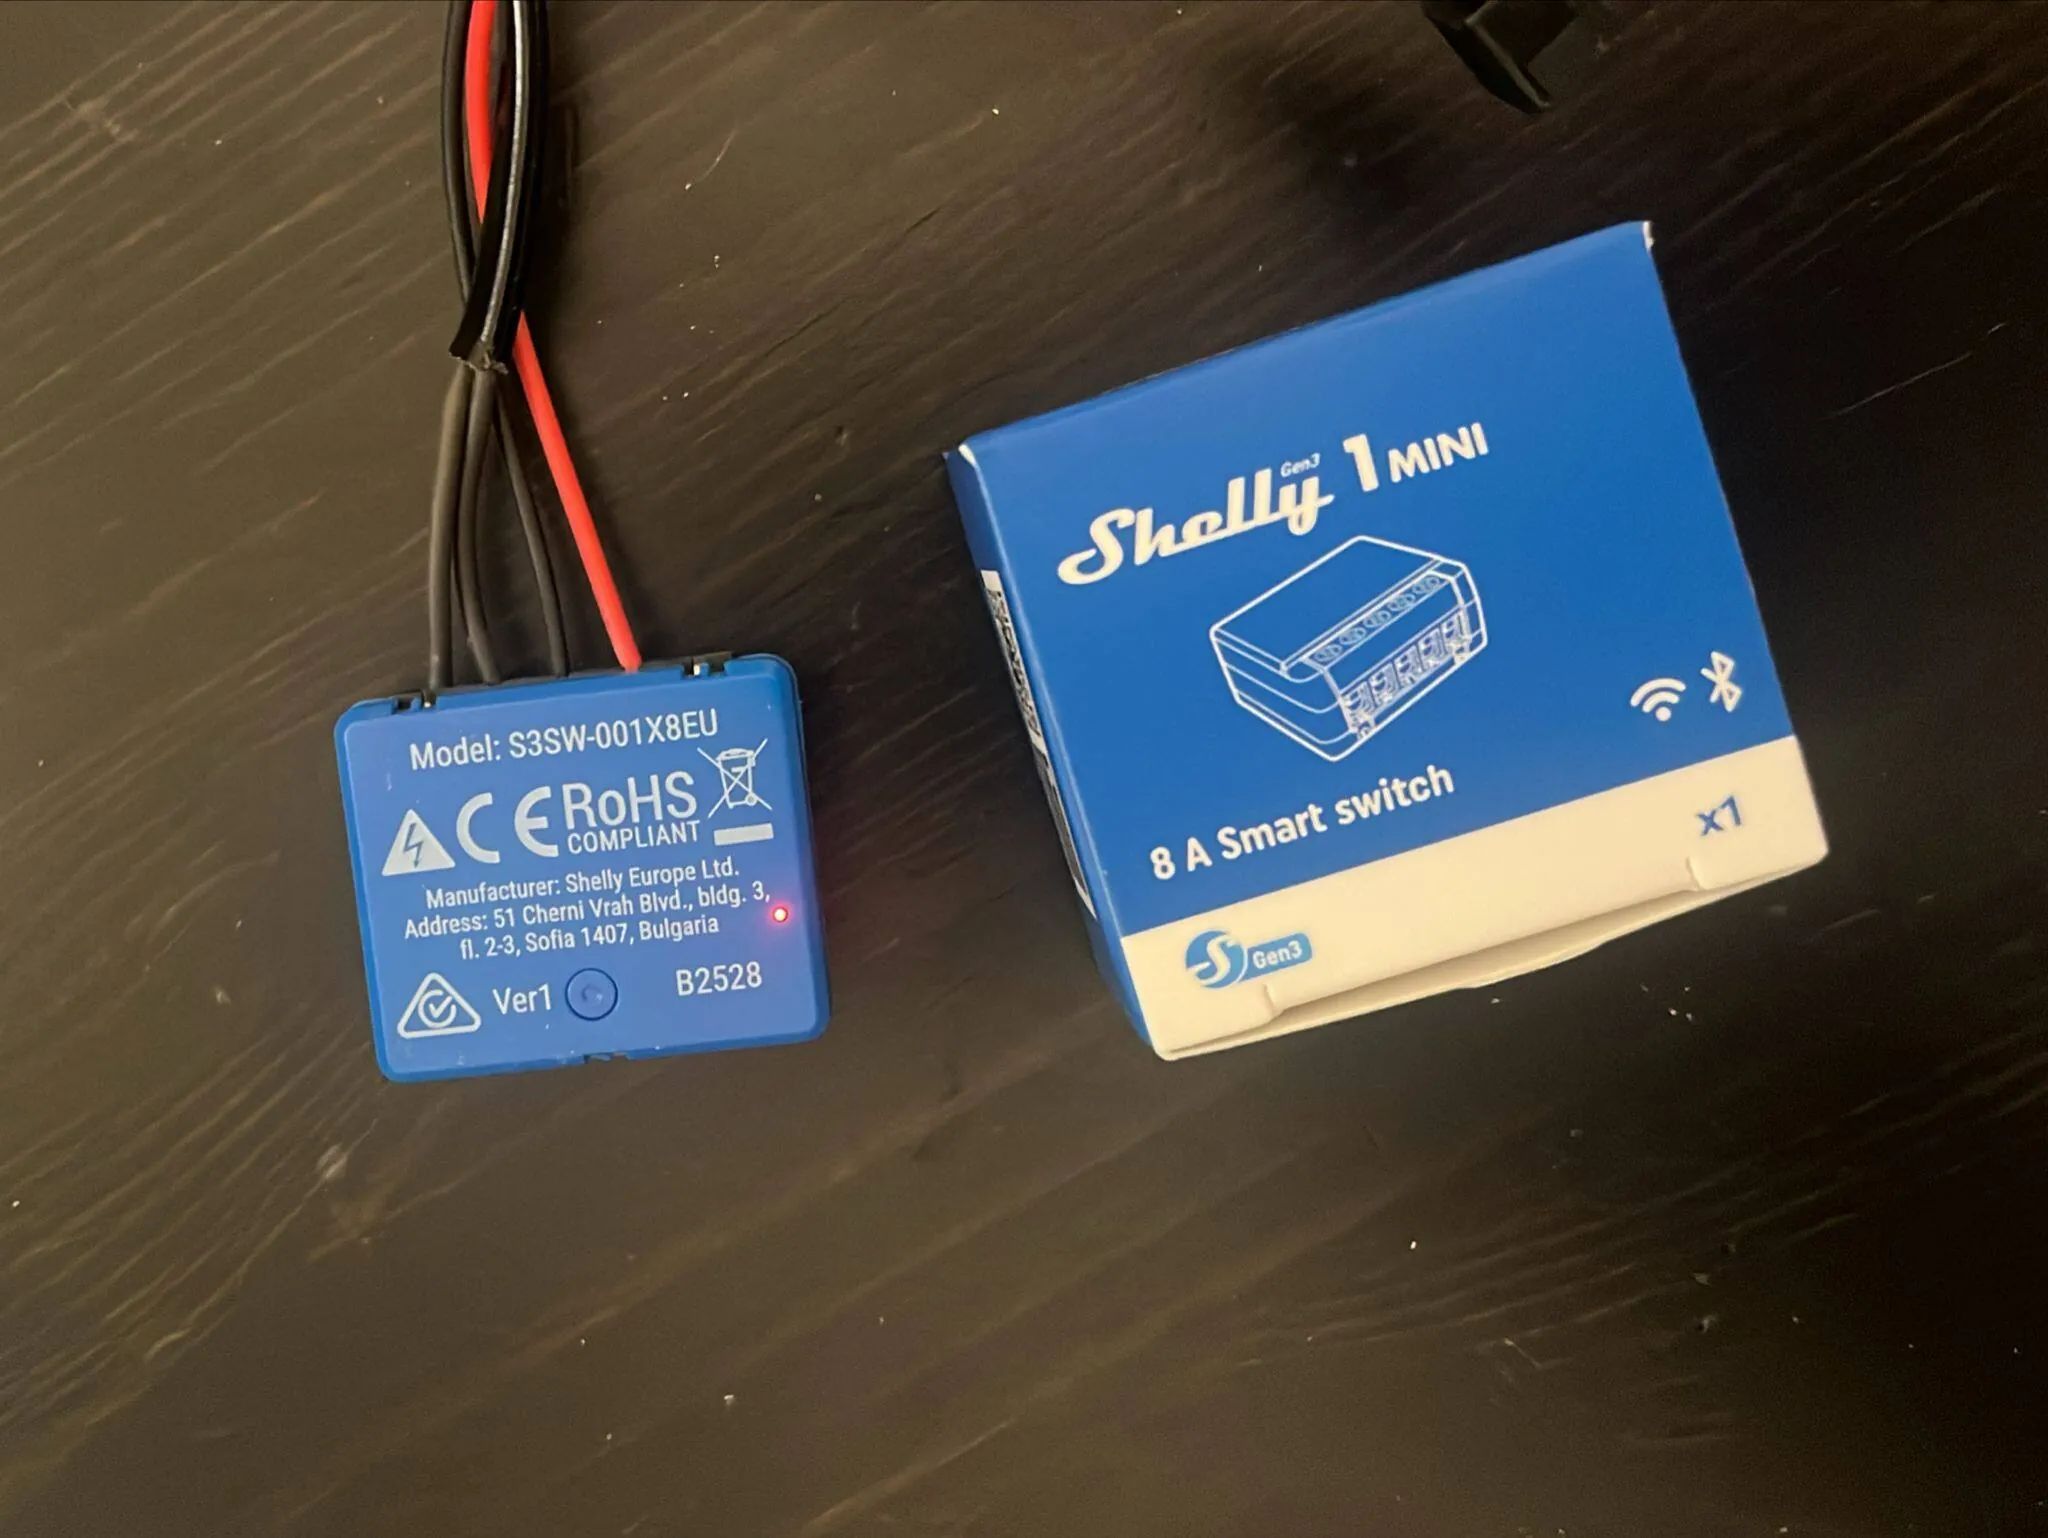
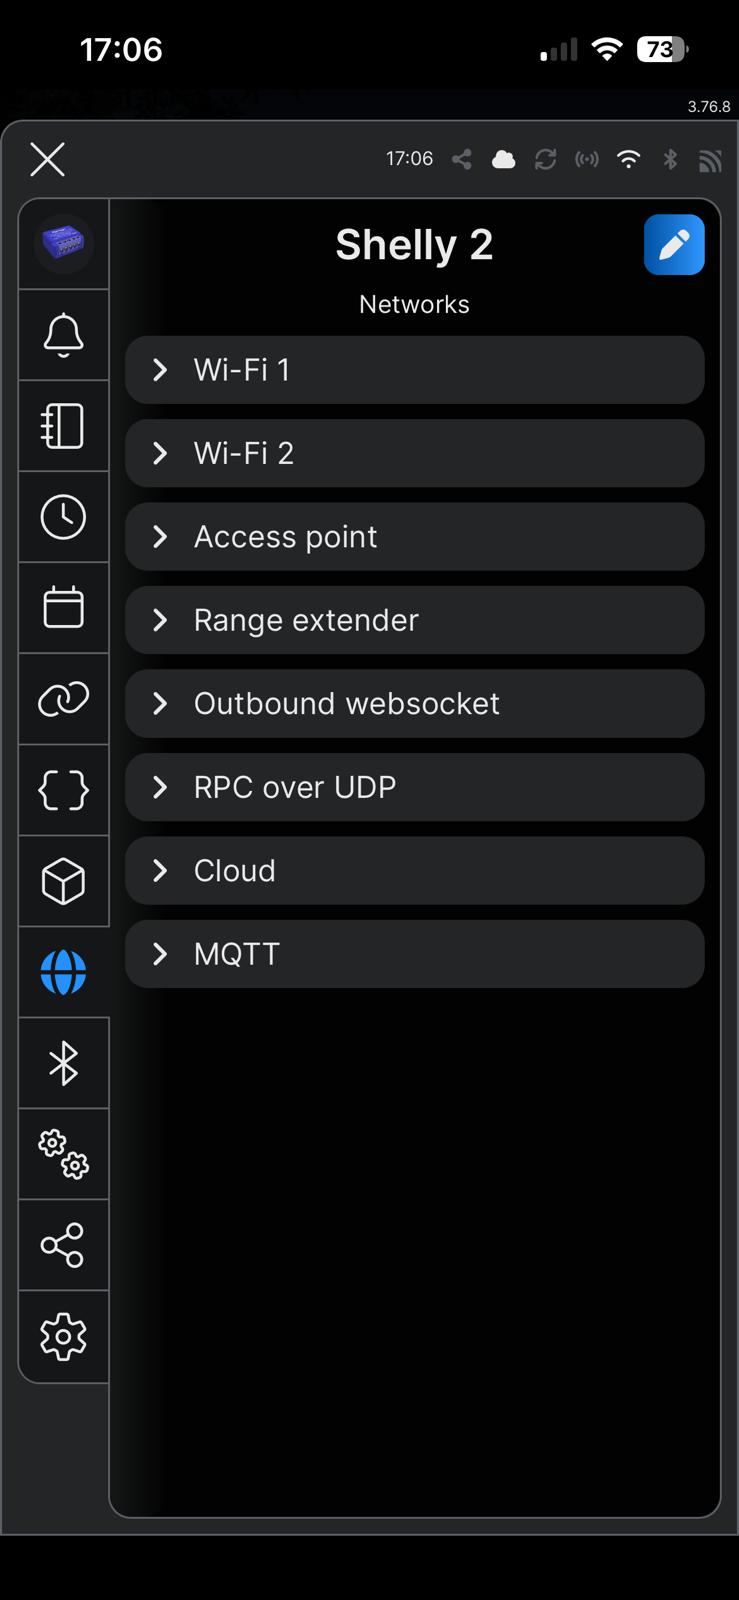
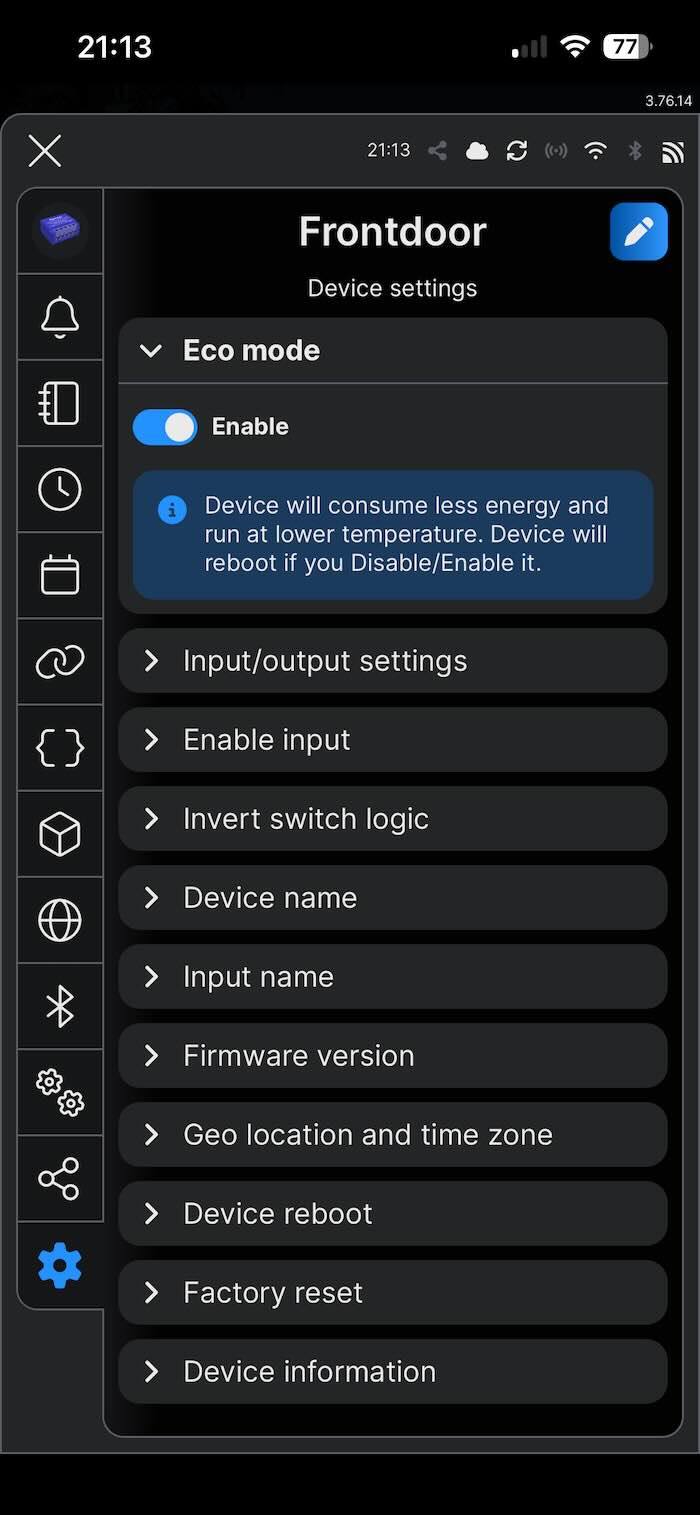
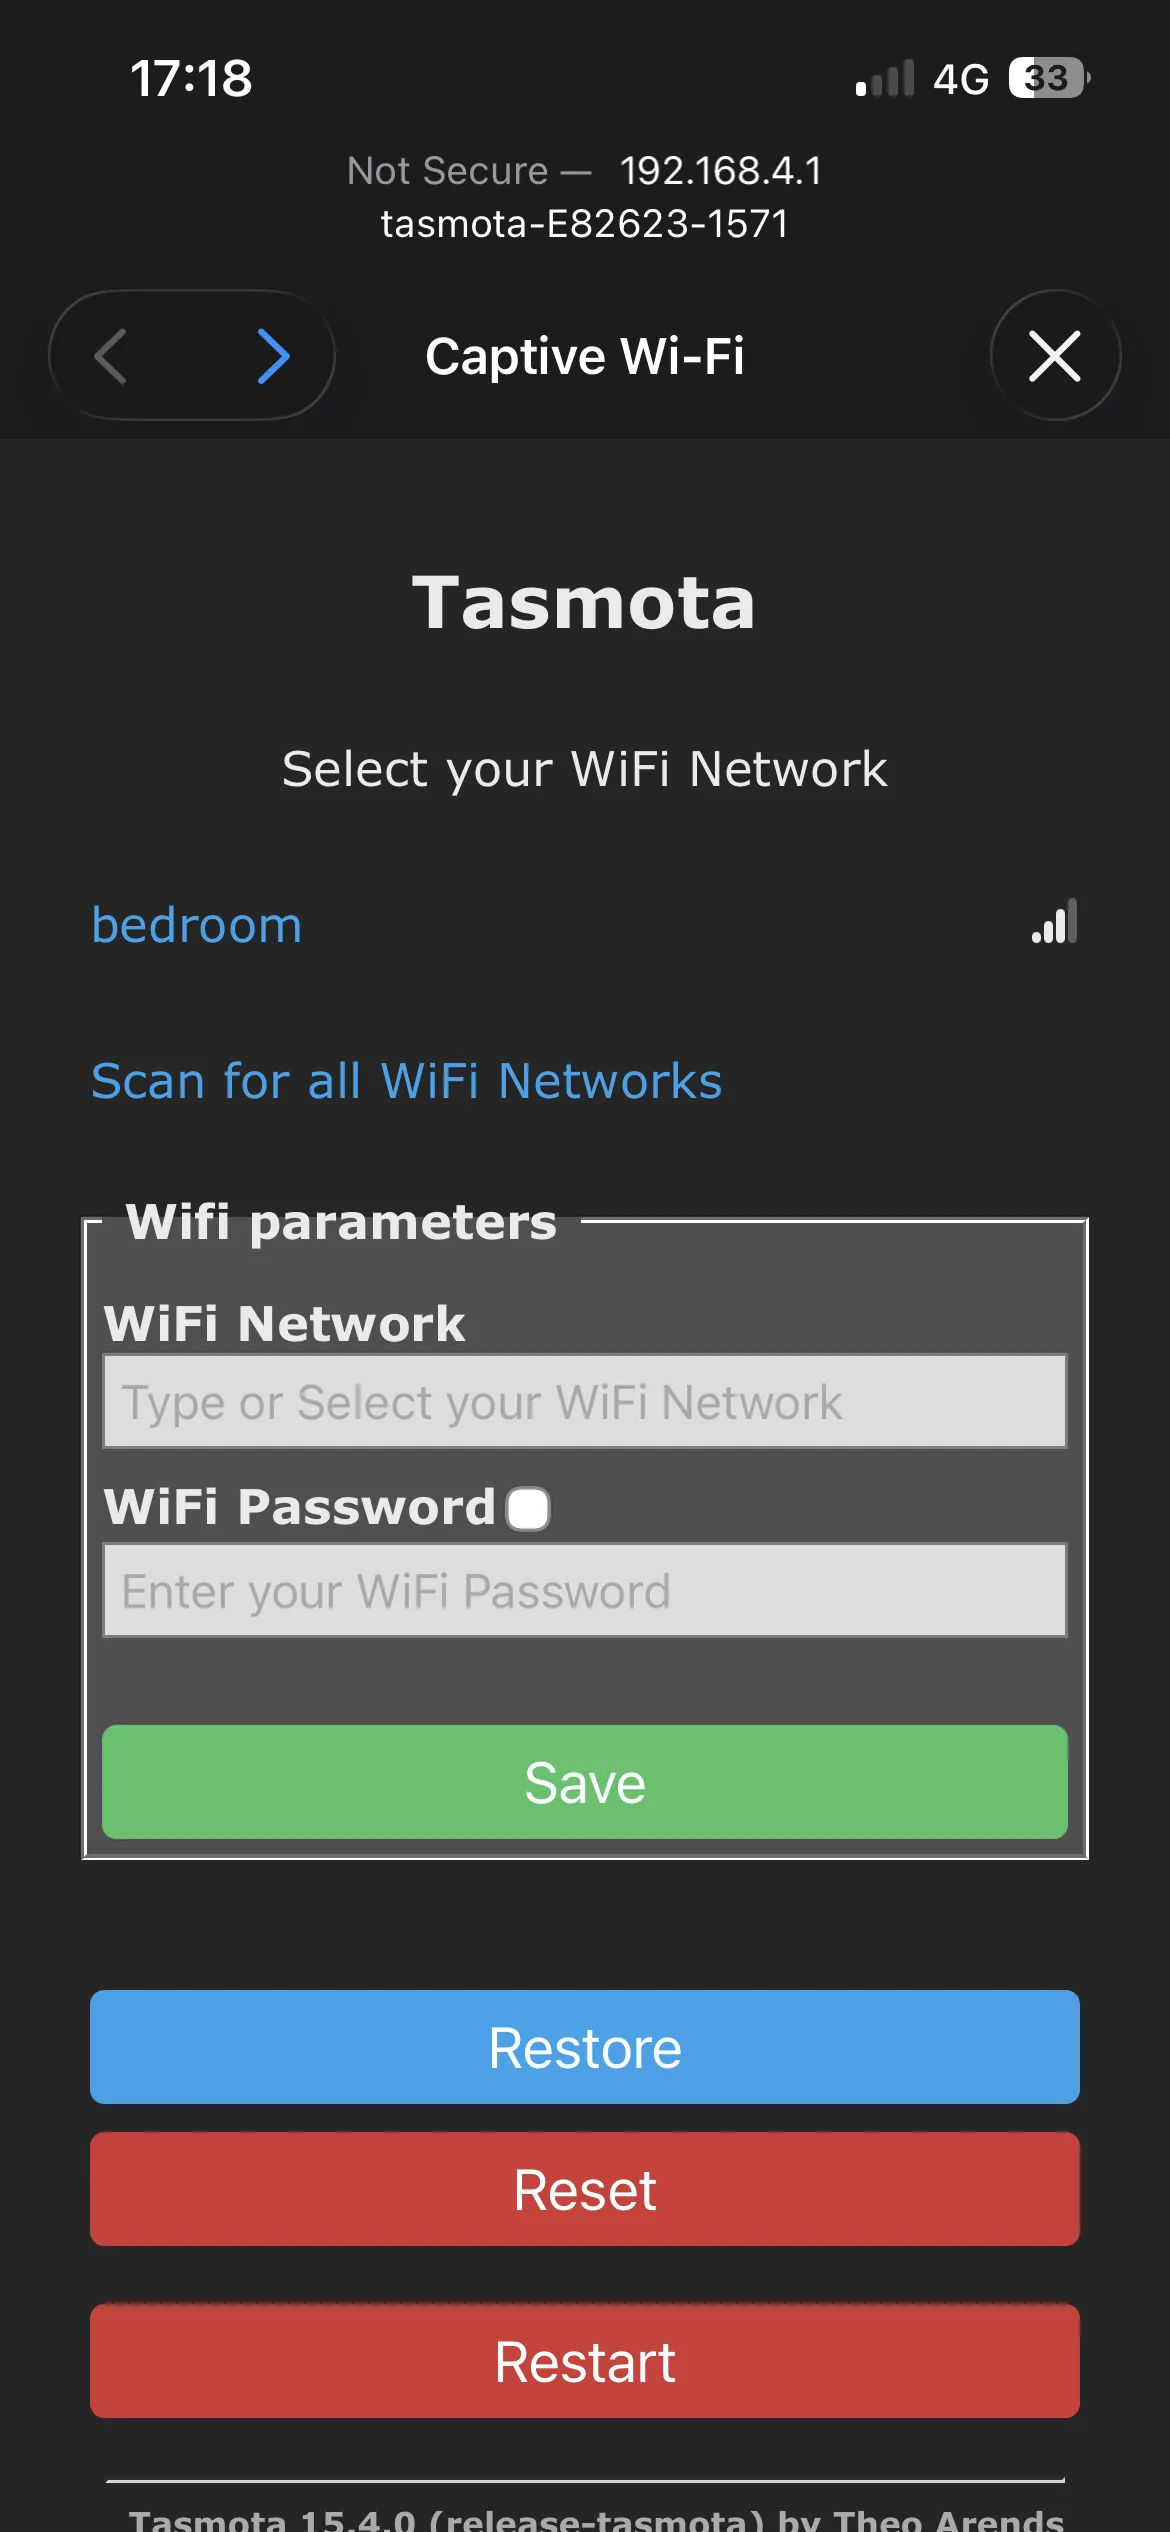
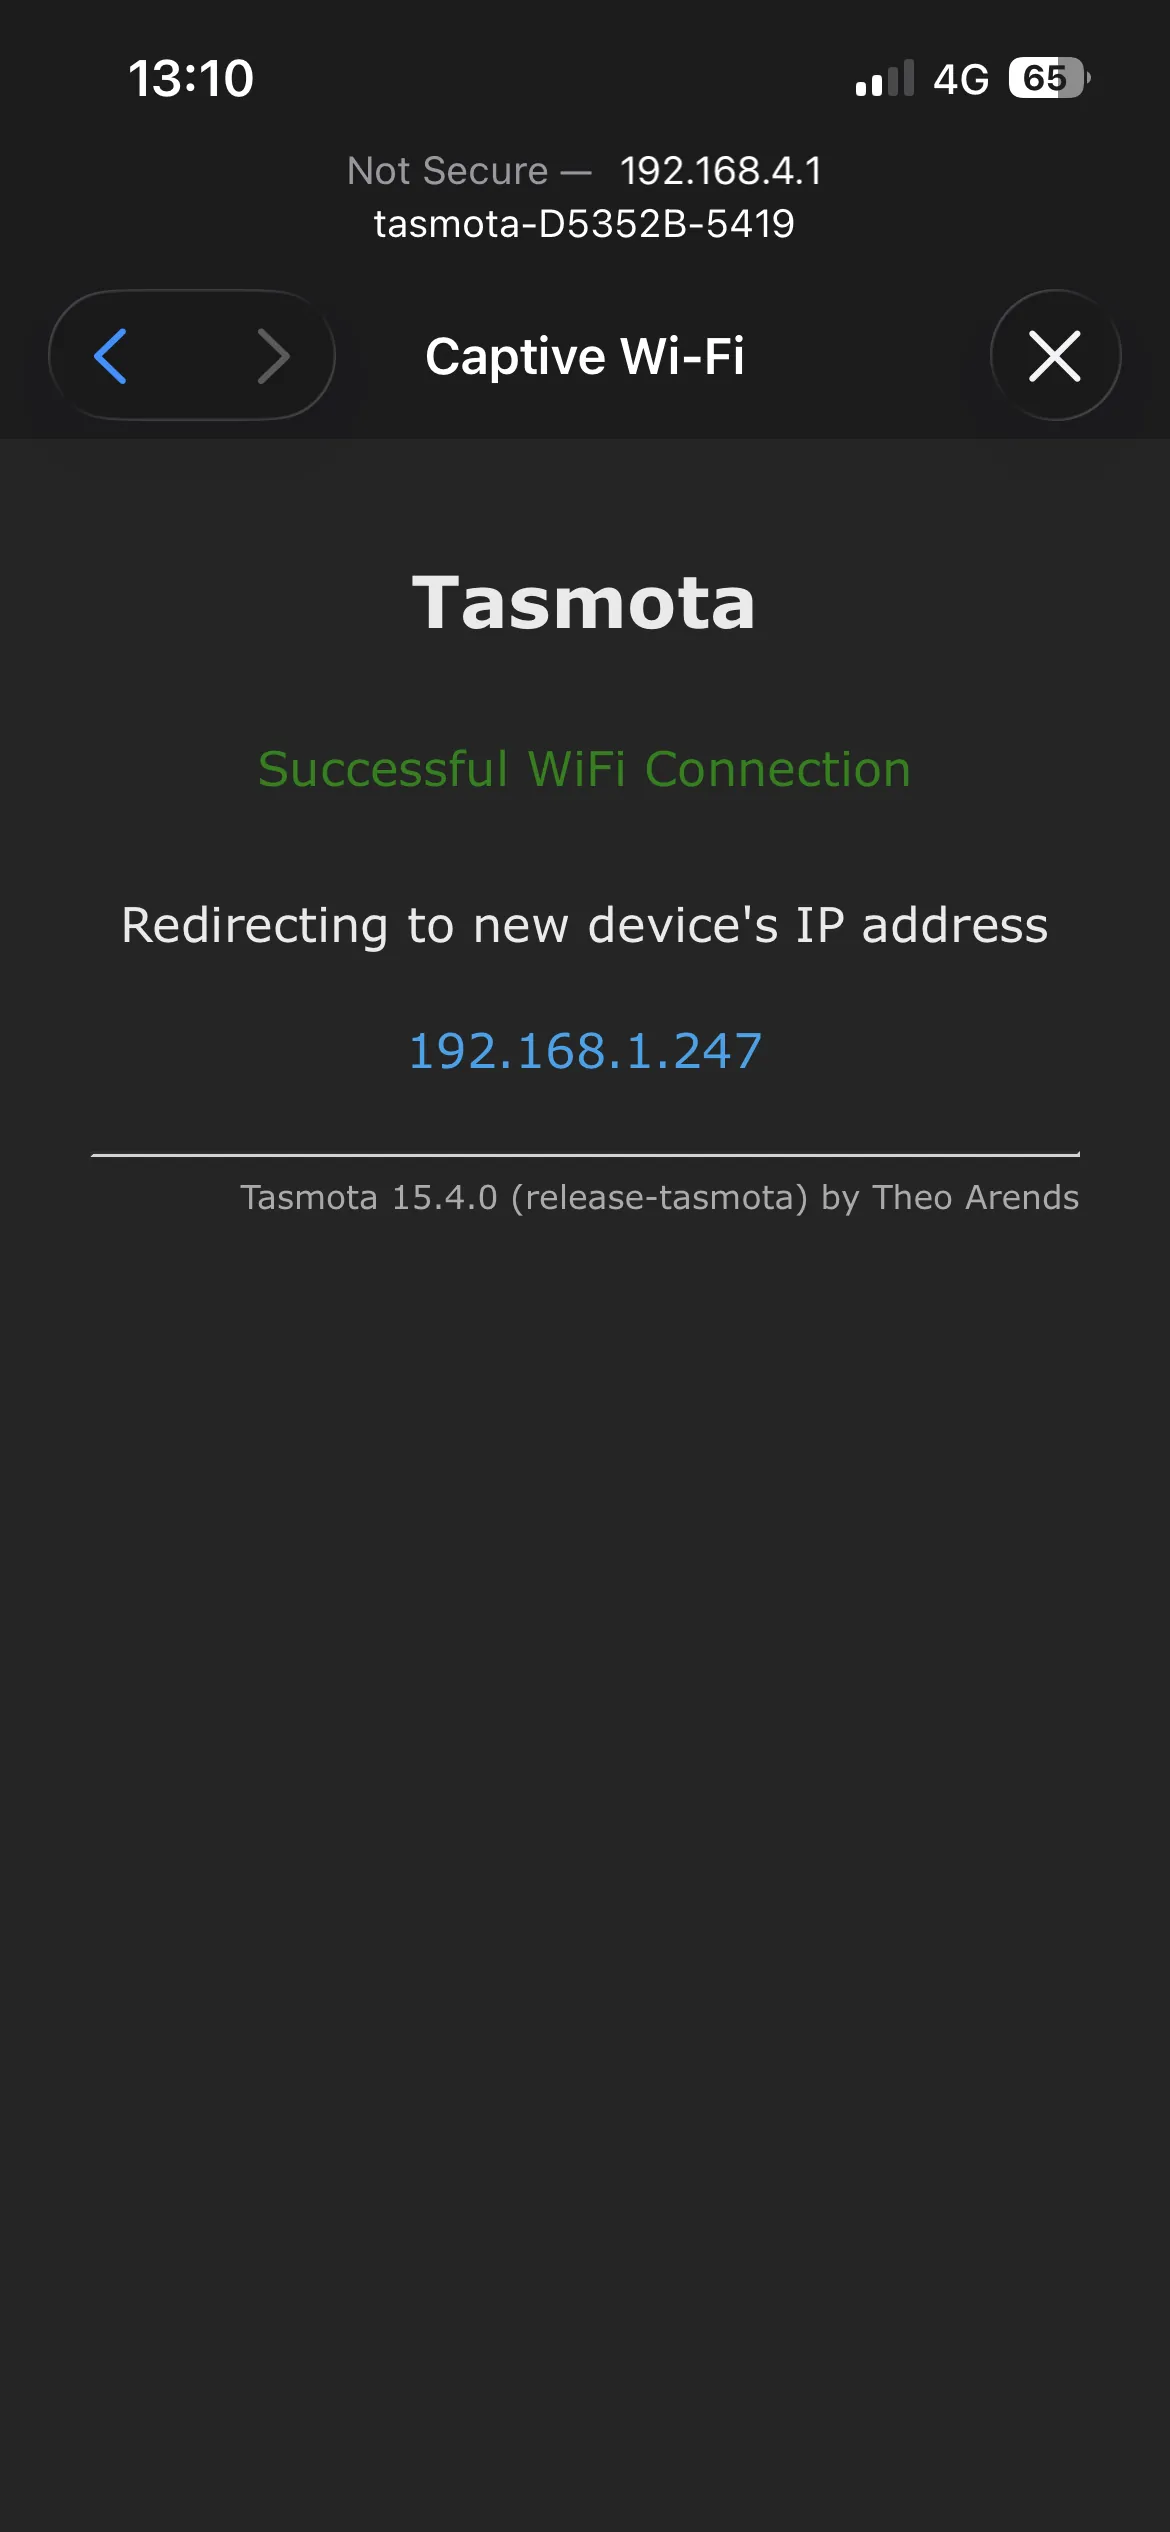
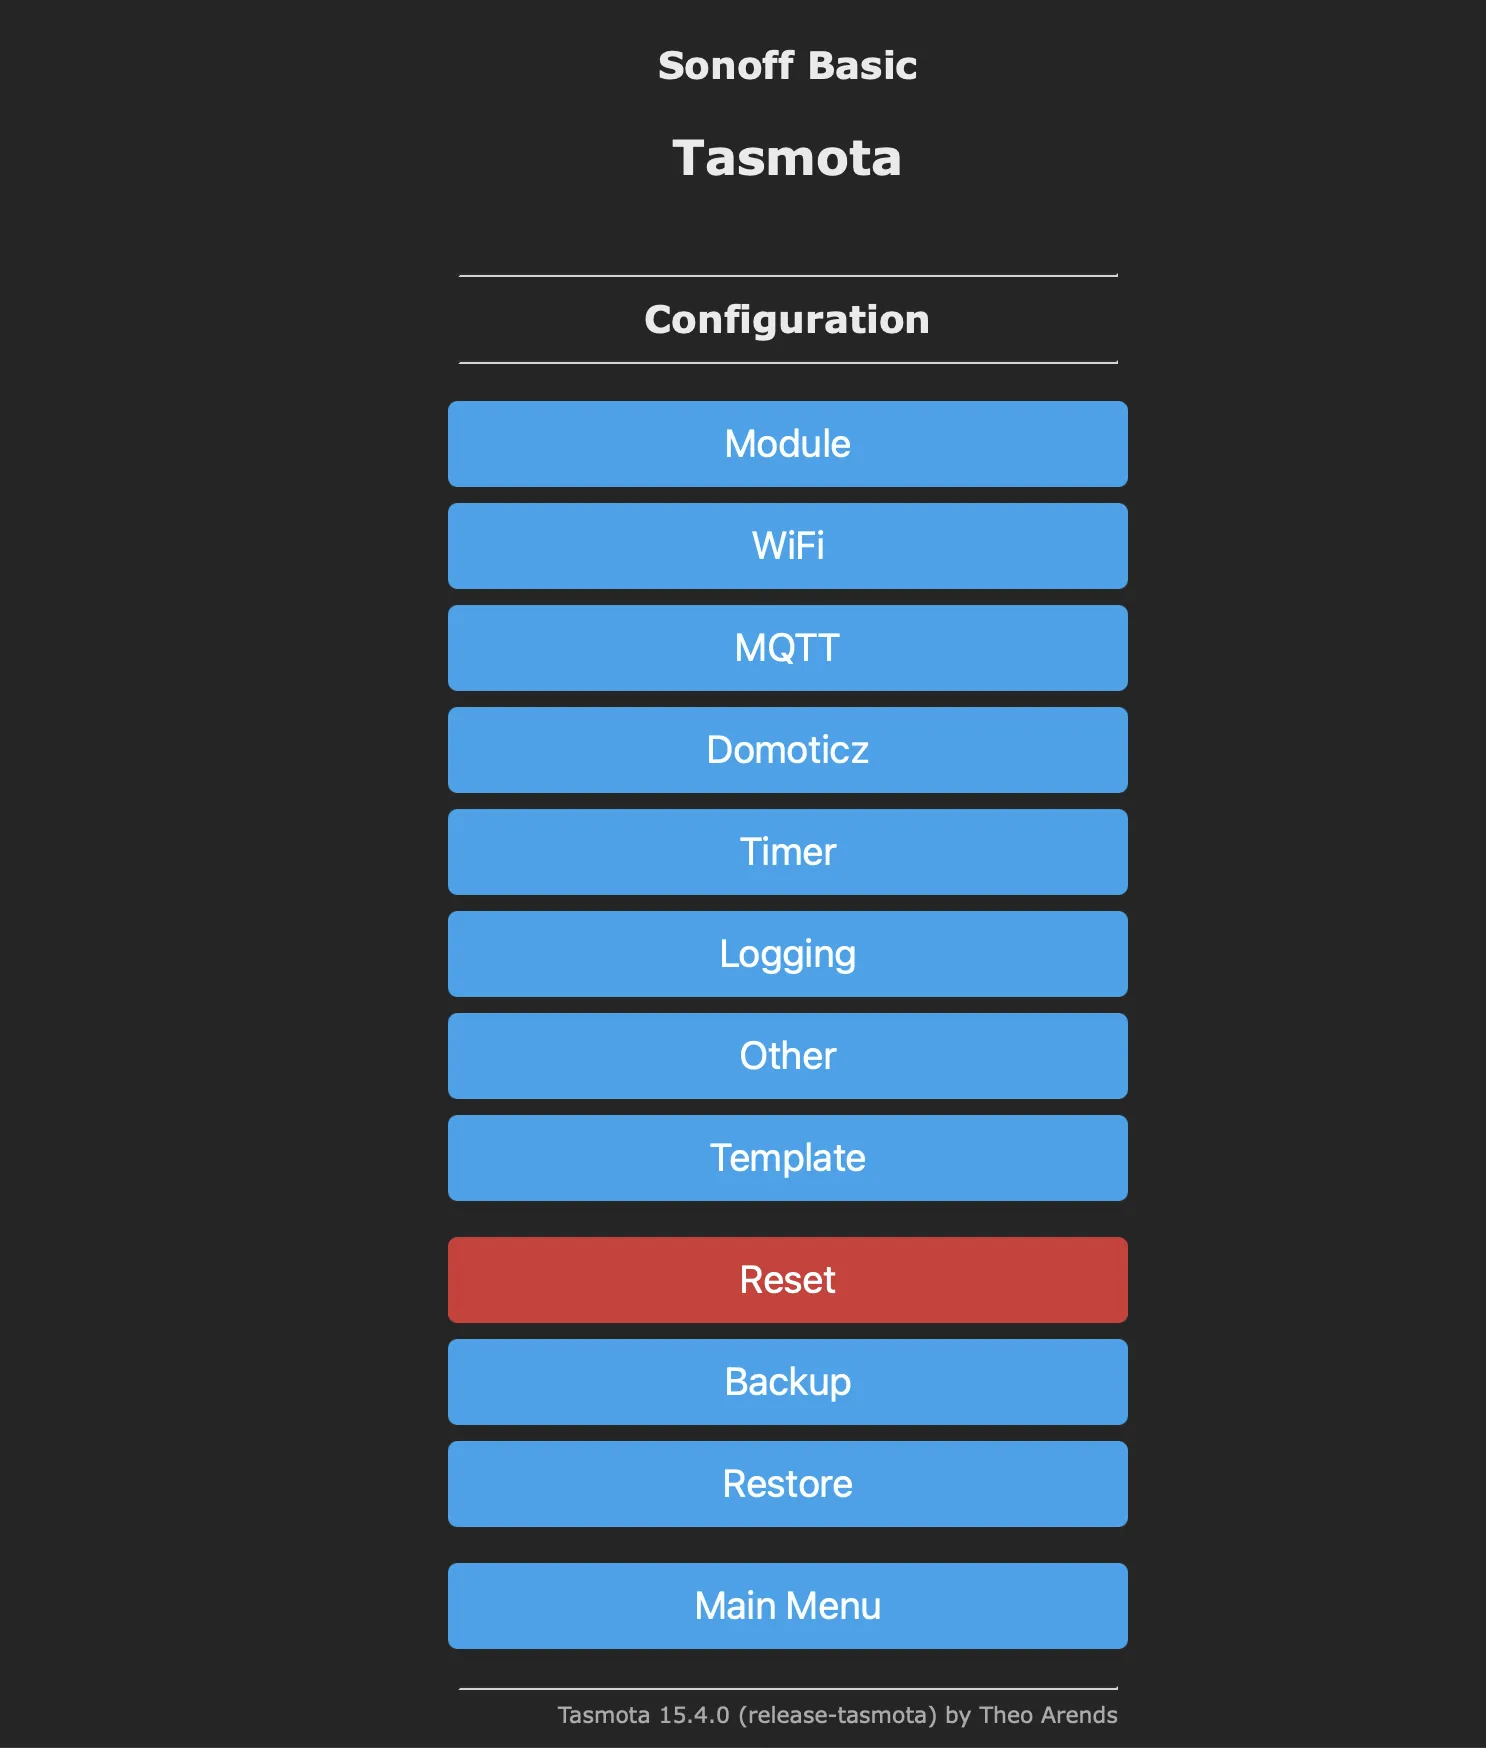
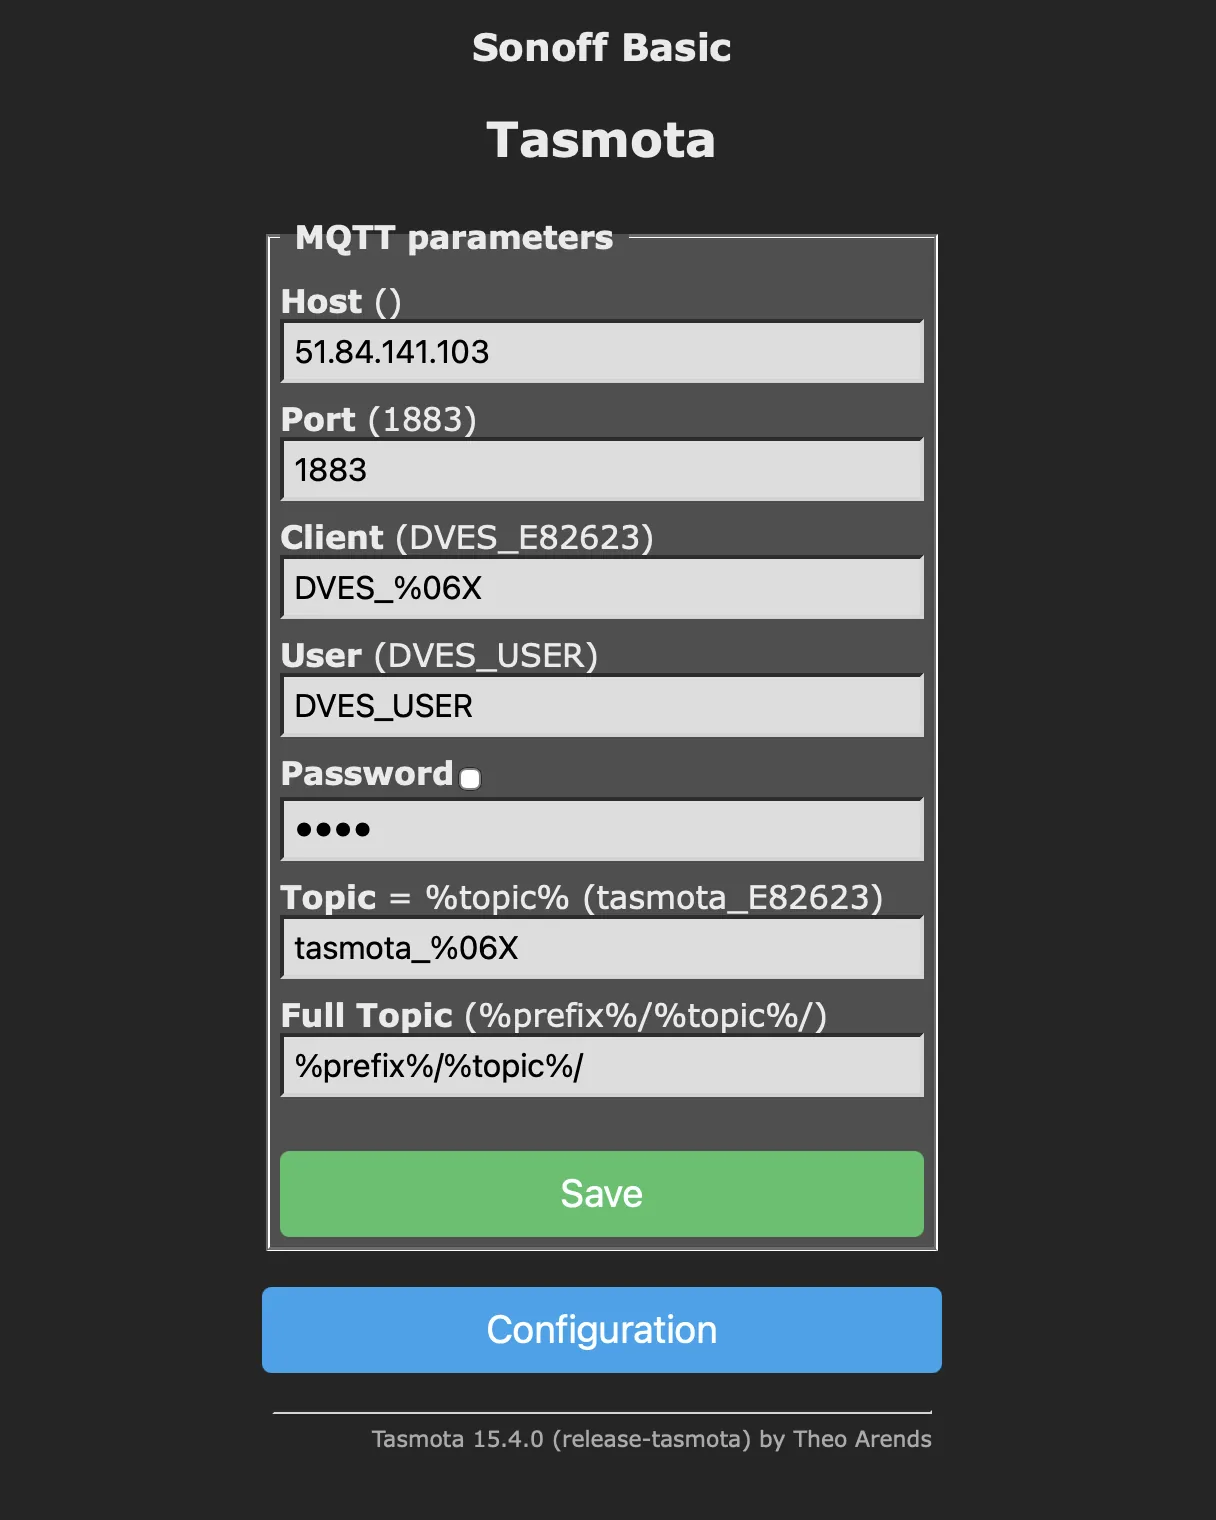
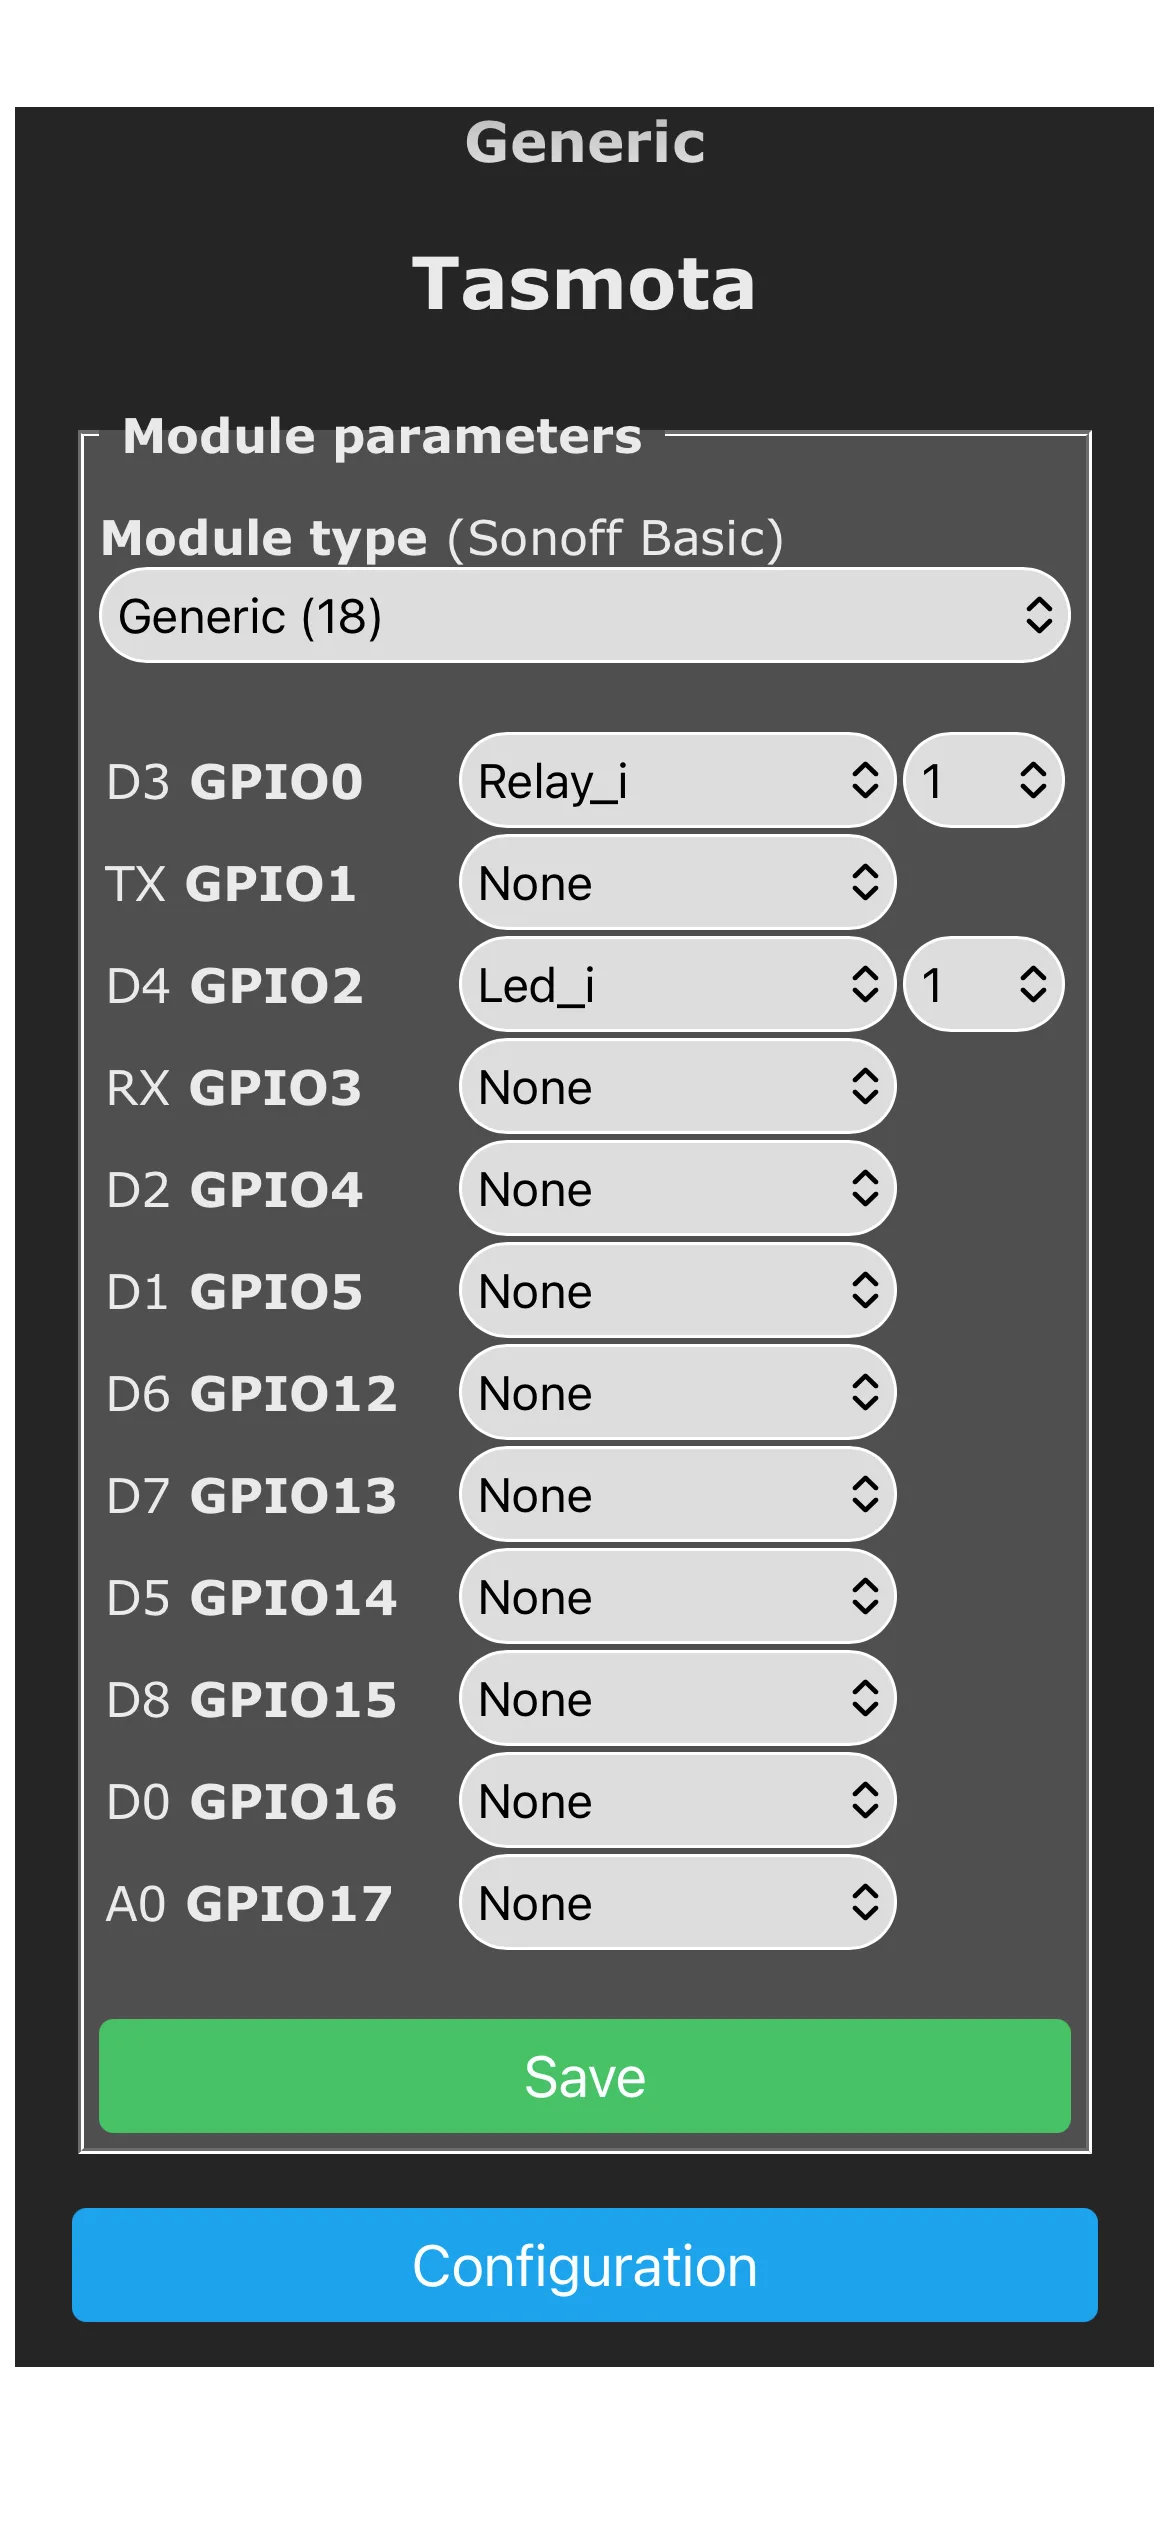
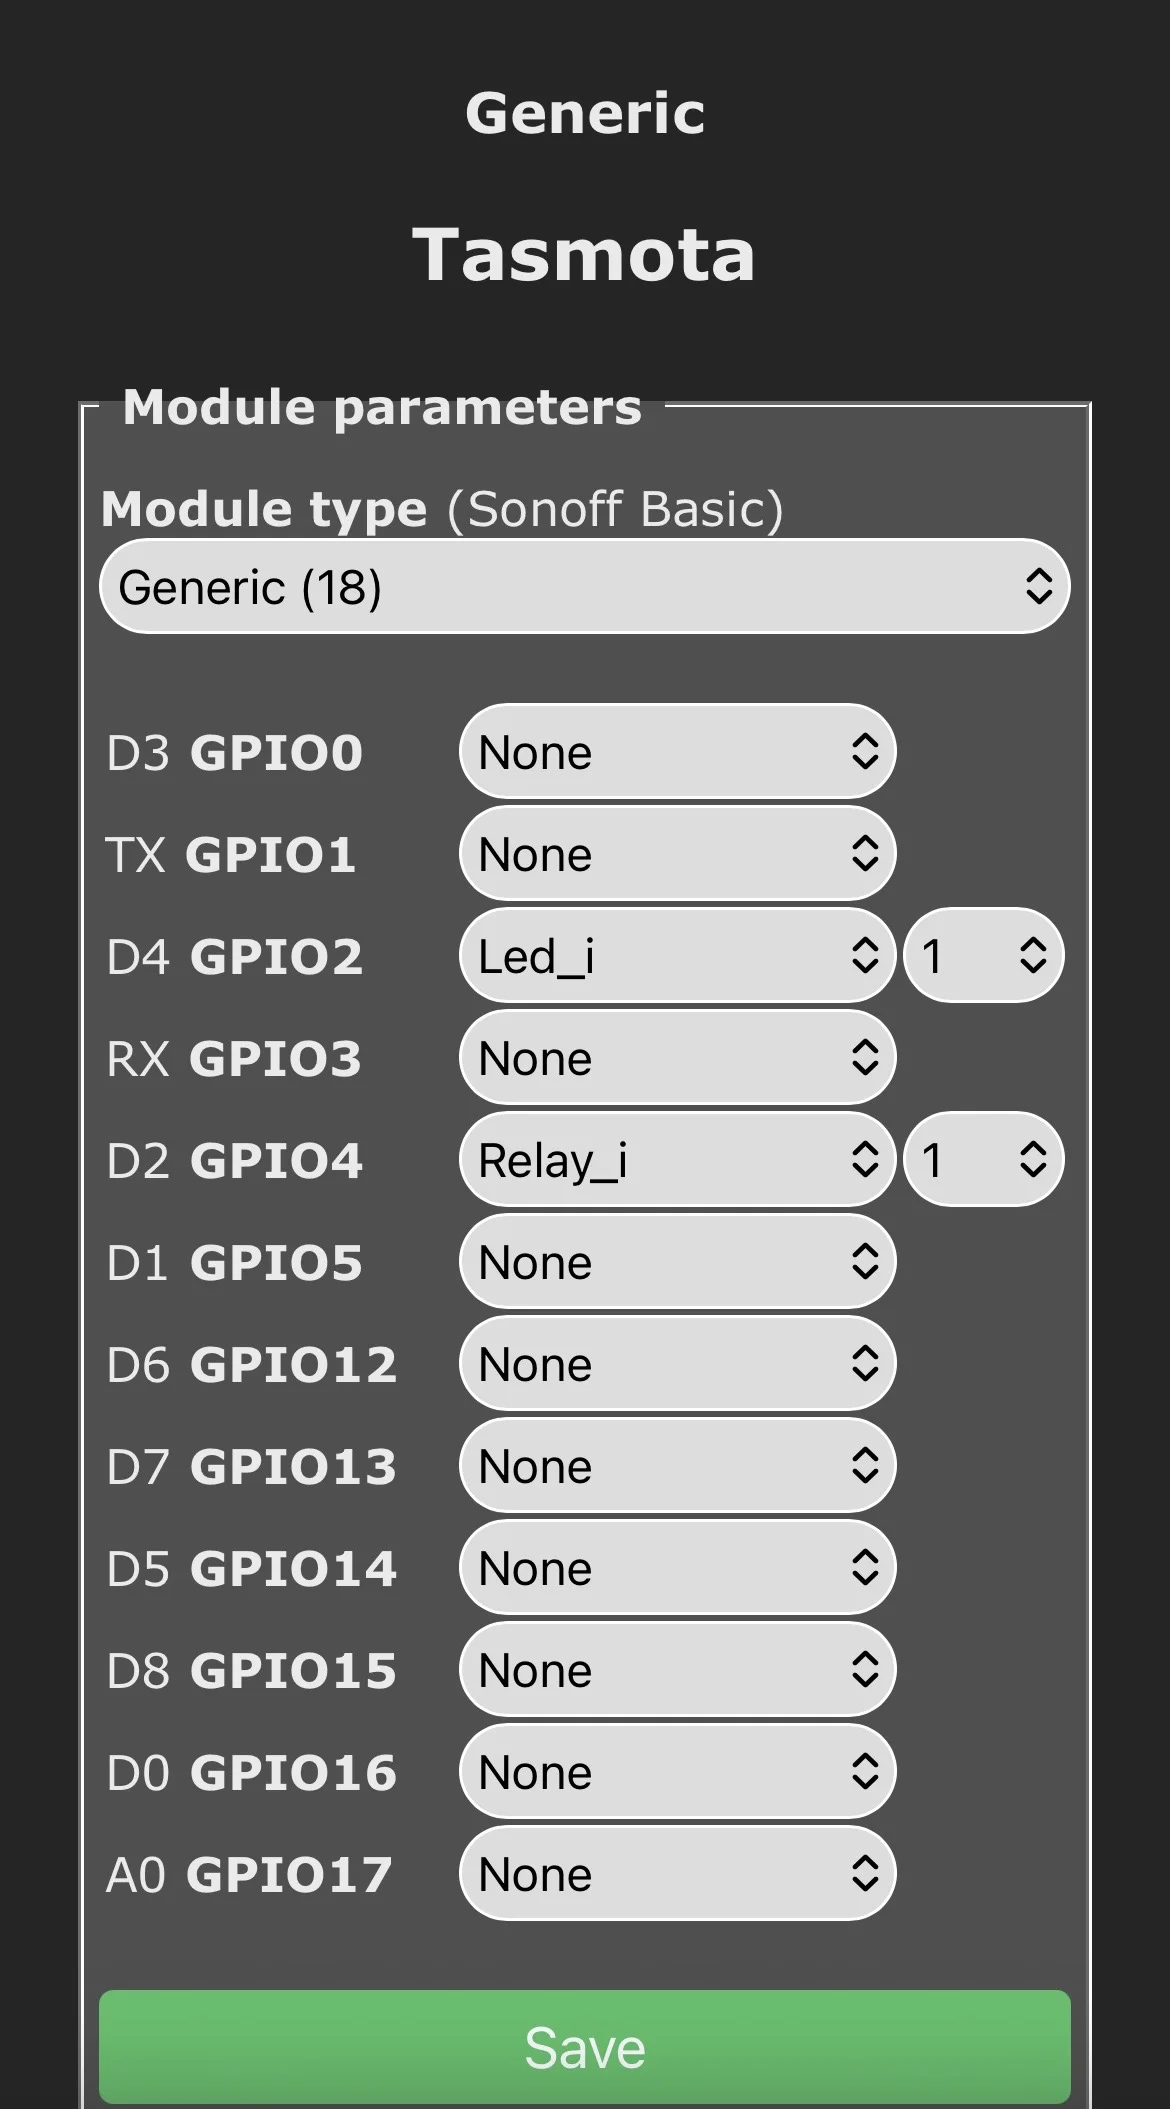
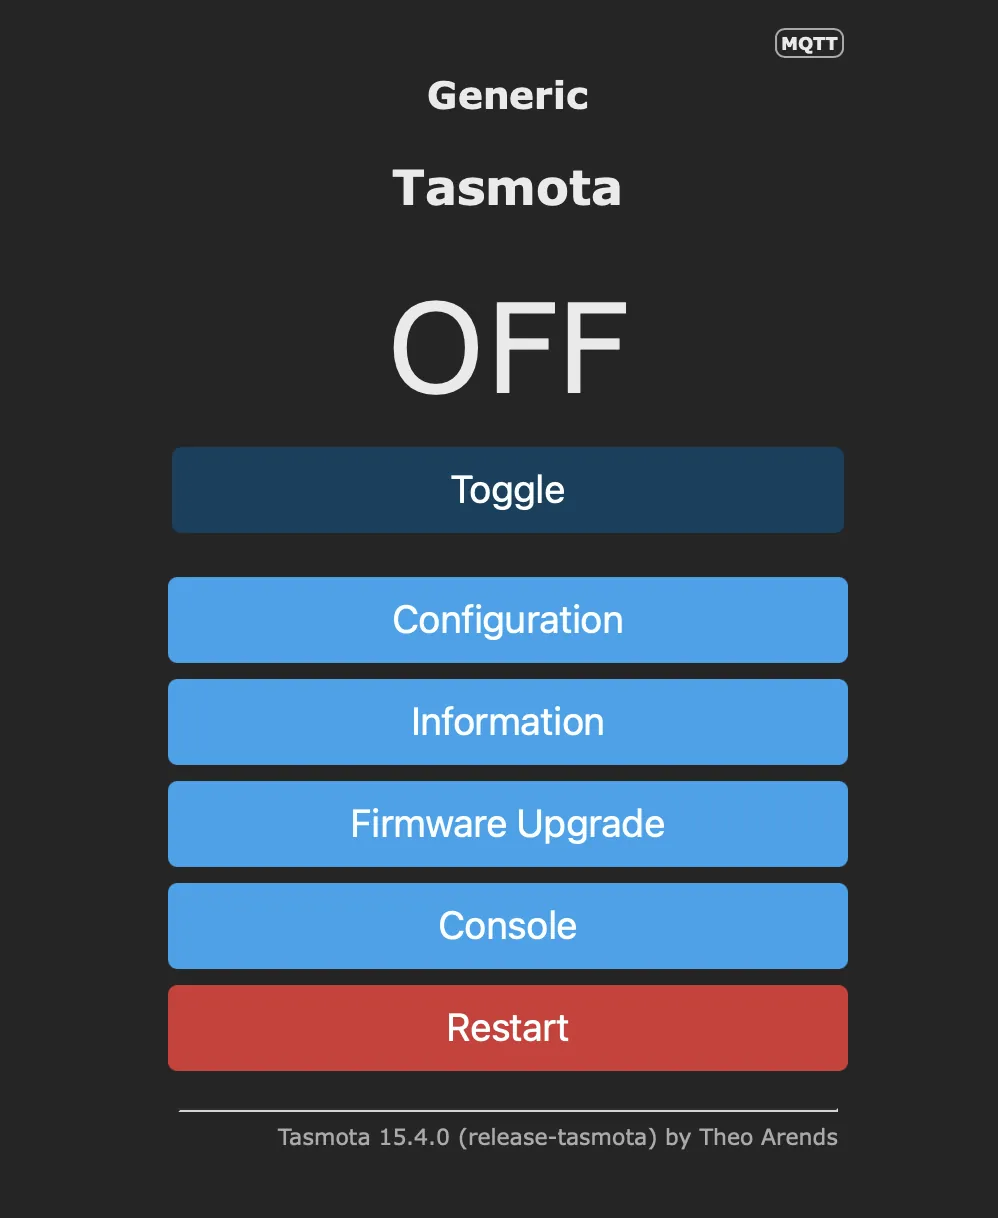
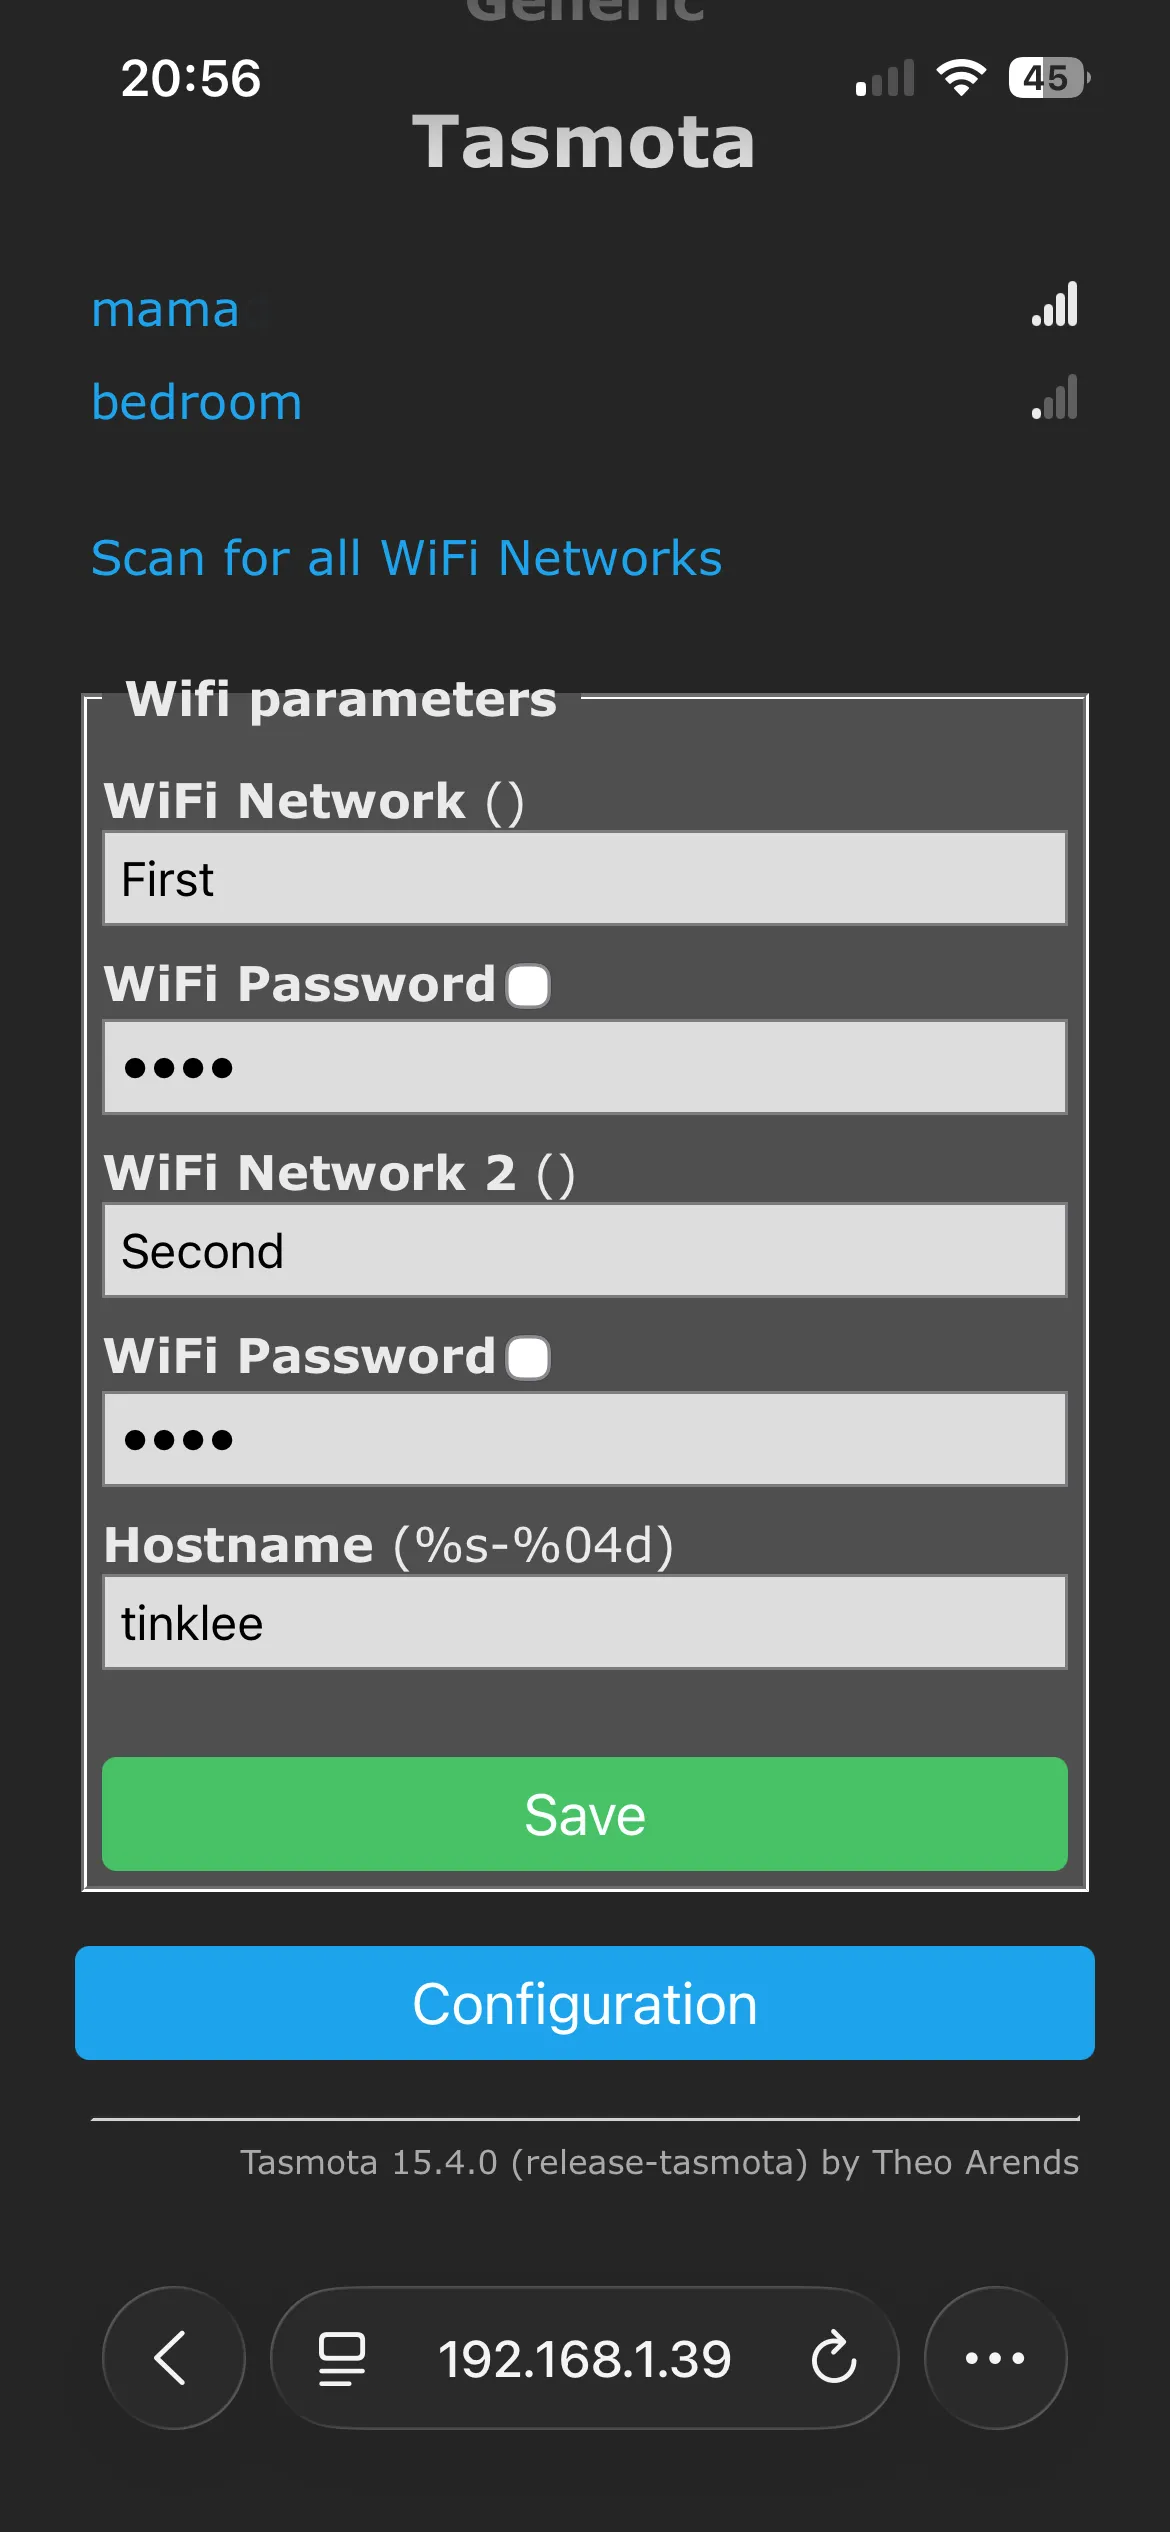
A Shelly relay (WiFi), a Tasmota firmware relay (WiFi, supports multiple relays, cheaper DIY option), or a Tinklee 4G relay. All connect to your electric door lock. The 4G device works where there's no WiFi.


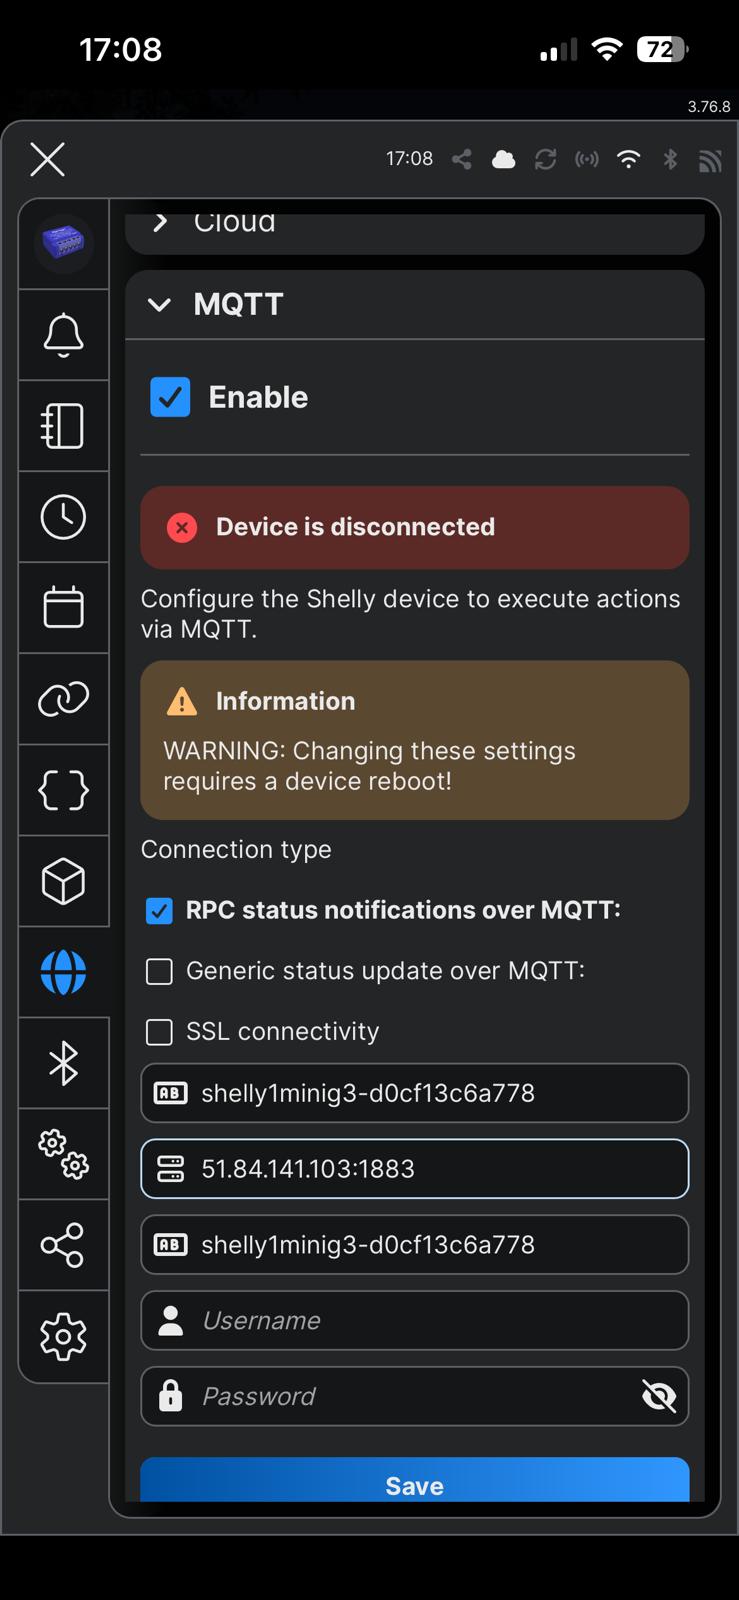
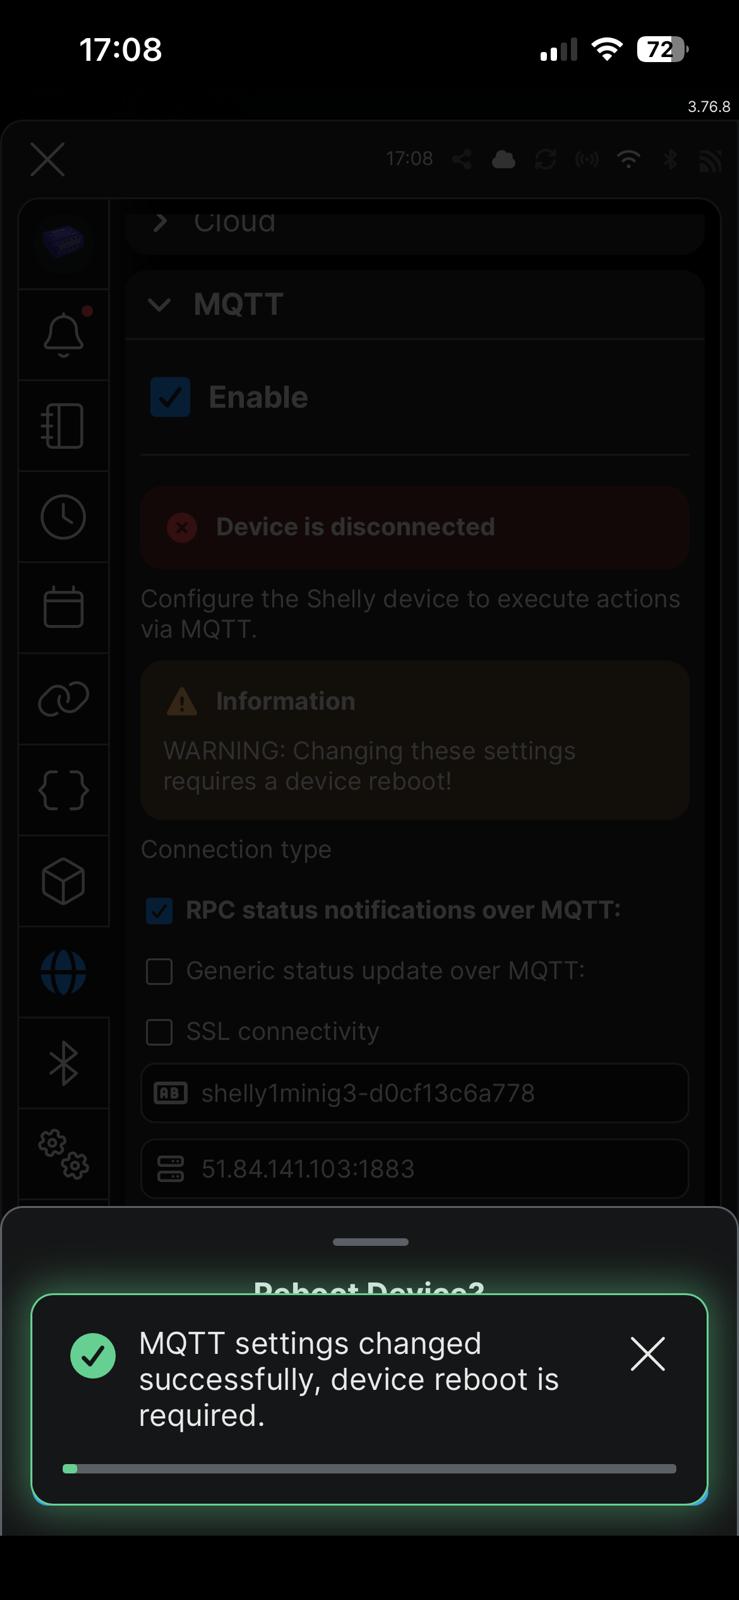

Contact our support to formulate your requests regarding hardware features. We propose different technologies that can be used.
Yes. You need to install in parallel a device that also triggers the door opening alongside the existing one and linked to the Tinklee system. You can use both systems at the same time and you can later on decide to cancel the old system and remain with the modern intercom we deliver.
The person who creates the building becomes the building manager. They add homes and appoint a home administrator for each one. Residents manage their own names and household members.
Yes. Depending on your plan, you can have up to 4 entries. Each entry can have its own dedicated device (e.g. one Shelly per door), or multiple entries can share a single 4G device using different relay channels. Entries are not limited to front doors, parking gates, barriers, and side entrances can all be controlled. Each entry gets its own QR code.
Visitors scan the QR code at the entrance with their phone camera. They see a searchable list of residents and can ring the doorbell directly.
Yes. Only authenticated residents can open the door. Visitors can only ring, they cannot open. All communication is encrypted. Residents can hide their name from the visitor directory.
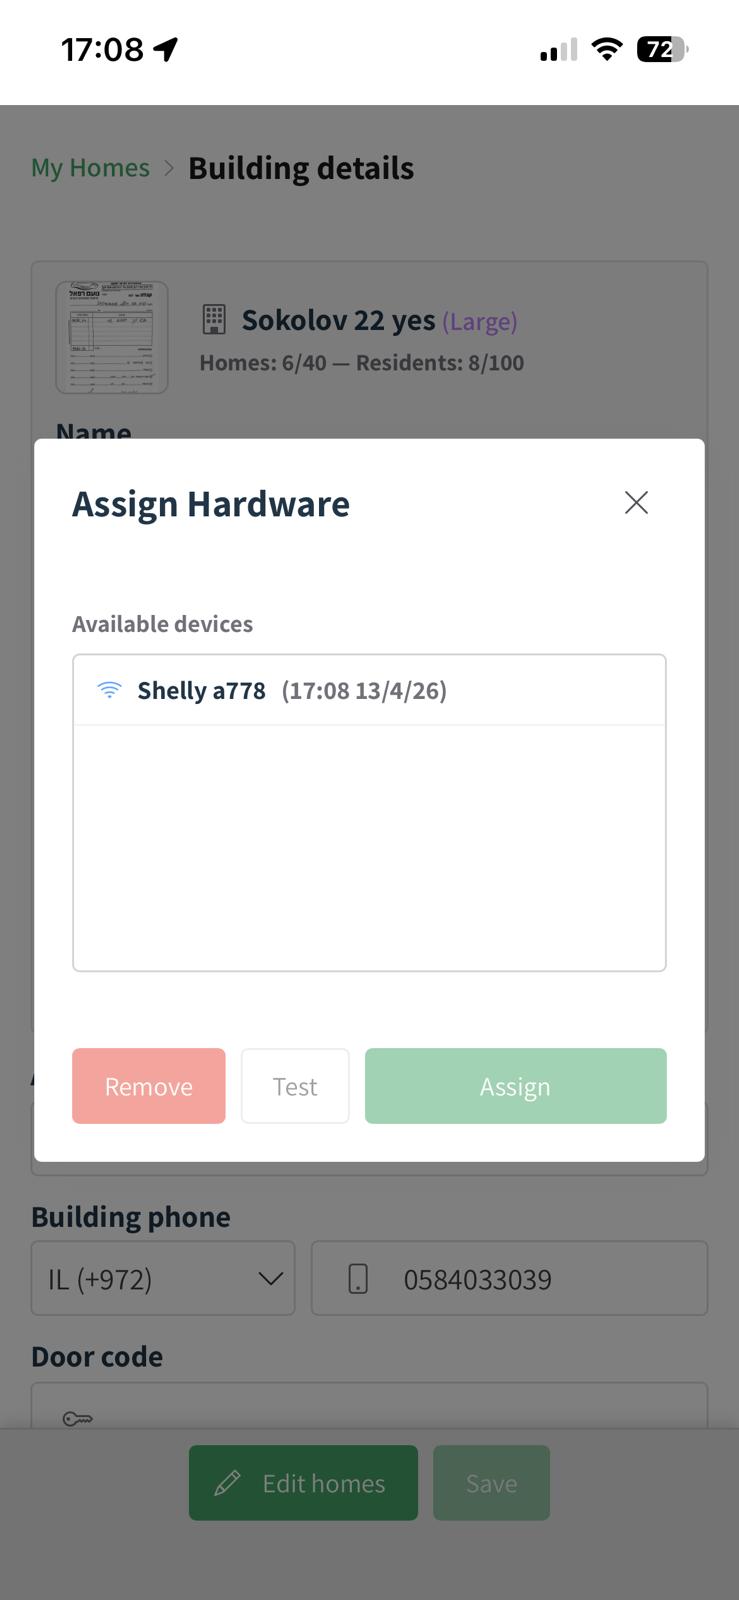
This is possible in special cases. Open the hardware assignment panel on both buildings at the same time, before assigning the device to either one. The new device will appear in both lists as long as it has not yet been assigned. Select it in each building and confirm. Each entry must use a different relay channel so that only one door opens at a time. If you accidentally remove hardware from an entry, it will reappear in the assignment list for 15 minutes so you can re-select it.